HOW TO: TIPS & TRICKS
THE CREAMING METHOD

We’re going to talk about the nitty-gritty’s of what happens when we cream butter and sugar together. Are you ready for some serious baking secrets?
Here we go…
1/ What is The Creaming Method?

When a recipe calls for the butter and sugar to be creamed together, it means that the method of baking is ‘the creaming method’.
The creaming method is usually the initial and most important step in the recipe and involves beating fat/s and sugar together until the mixture is light in colour and his increased in volume. It is important for creating air, needed for leavening and thus helps to produce light and fluffy cakes.
2/ The ‘science secrets’ behind the creaming method:
Sugar crystals have rough and jagged surfaces that ‘dig’ into the butter when beaten together, creating tiny pockets of air that are trapped in fat. The smaller the crystals, the larger quantity of small air pockets there are, resulting in a very light and fluffy textured cake (thus castor sugar it great for this method).
The air trapped in these pockets expands when:
– they are heated
– filled with steam created from liquid ingredients in the batter
– carbon dioxide is released from the reaction of chemical leaveners (e.g. baking soda/baking powder).
…thus, causing the cake batter to rise with a texture that is soft and light.
A few side notes:
– Chemical leaveners (e.g. baking powder/soda) do not create more air bubbles, they simply enlarge the bubbles that are already there. If the creaming process hasn’t been done properly, the result may be a cake that:
- hasn’t risen to its fullest potential
- has risen on one side
- one that will first rise a lot in the oven then collapse
(Hence, it’s important to spend time creaming the butter and sugar properly)
– Different types of fats are better for holding air bubbles than others. Shortening and lard create and hold air bubbles the best, but butter is good also and has the best flavour. Margarine does not hold air as effectively, whilst vegetable oil doesn’t at all.
So, let’s look at the actual process, step-by-step.
3/ The Creaming Method Process:
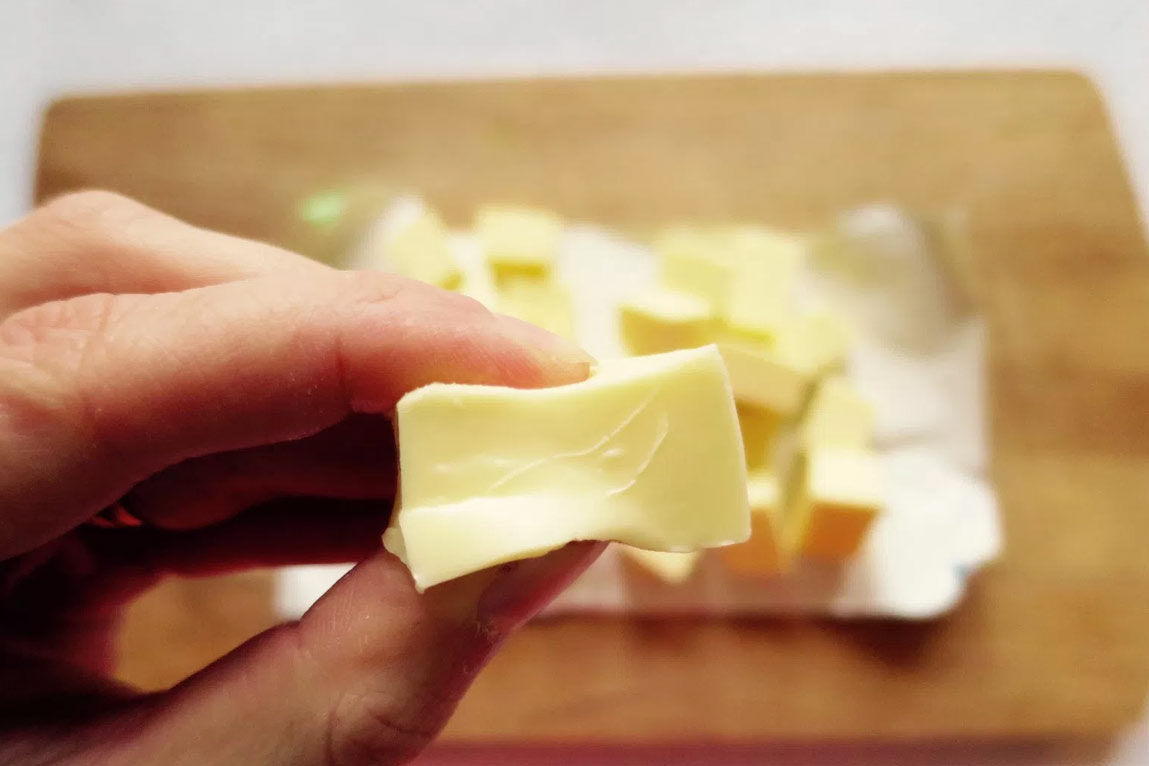
1. Ensure the butter is at the right temperature
If the butter is too cold, the sugar won’t be strong enough to ‘dig’ the pockets of air. If it is too warm, the sugar will slosh straight the rough butter without creating any pockets. The butter should be soft enough for you to bend a stick of it, but not so soft that you can poke your finger easily through it.
Check out this handy tip for softening butter quickly.
2. Beat fat (butter, lard or shortening) with a hand / stand mixer on a low speed until soft and has a slightly ‘whipped’ look
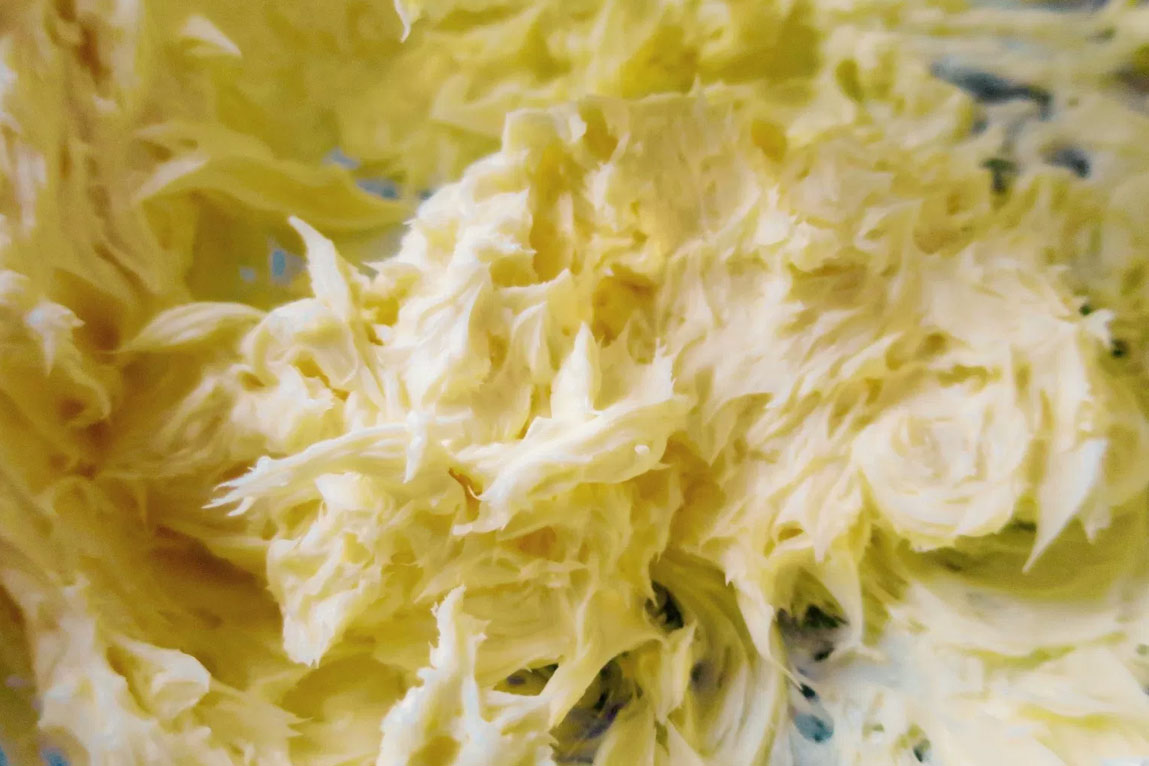
Start the mixer on low and then gradually increase the speed to allow the air bubbles to form and strengthen. If you start off too fast too soon the air bubbles might break, resulting in a heavy and dense baked product. Alternatively, you could beat it with a fork to combine then continue beating with a mixer.
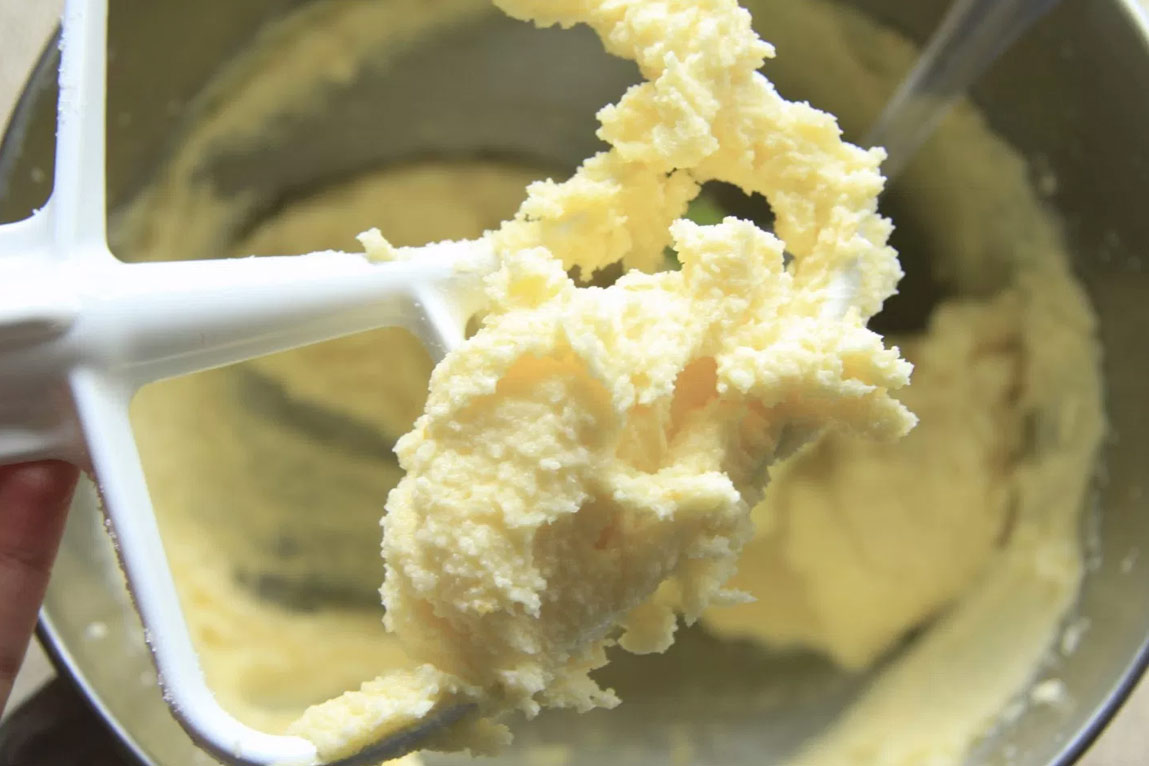
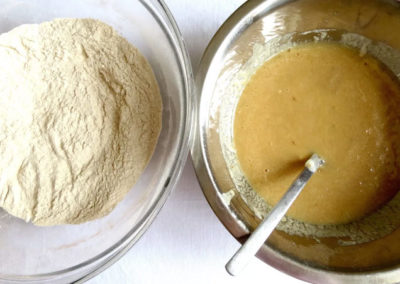
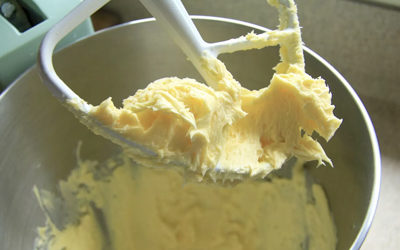
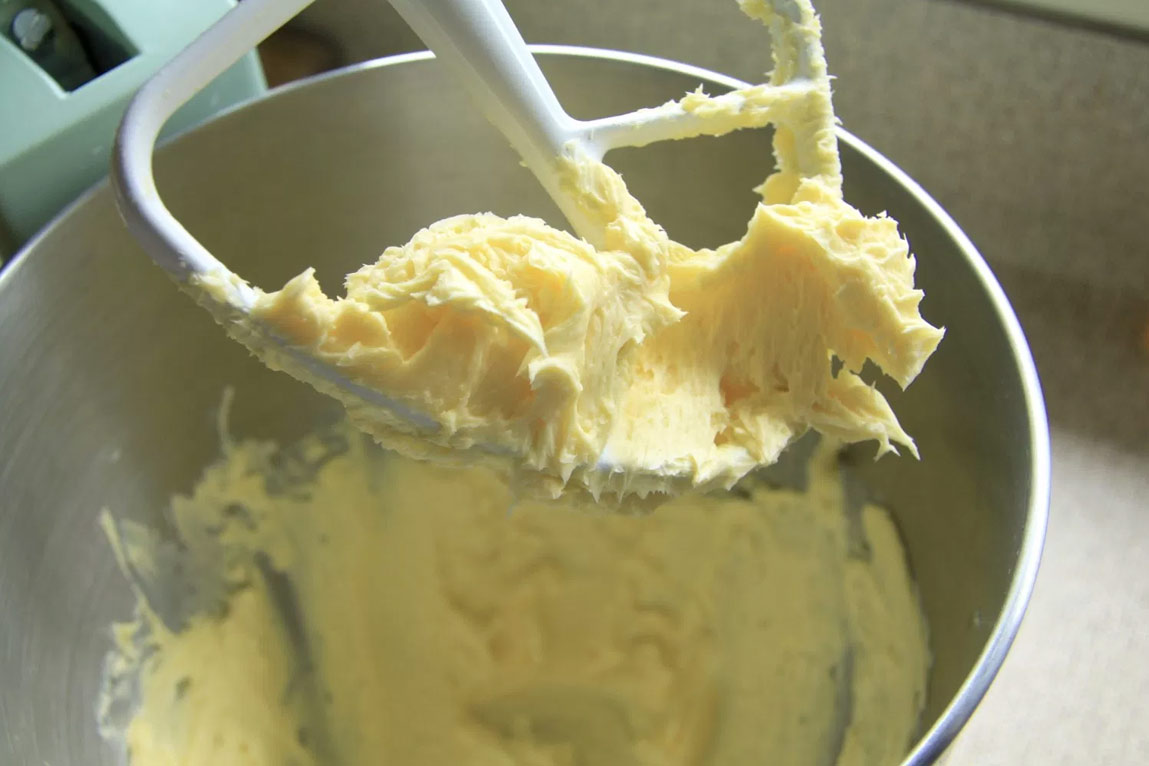
4. Stop beating when the mixture has nearly doubled in volume and is light and yellowish-white in colour (about 4 minutes with a stand mixer, or up to 12 minutes with a hand mixer).
The mixture should almost be mousse-like in texture. You may have to stop and scrape the sides of the bowl with a spatula to ensure even incorporation.
5. Beat in the eggs (and any flavourings e.g. vanilla extract) until just incorporated (over beating can result in the cake mixture separating and can give the cake a shiny ‘crust’).
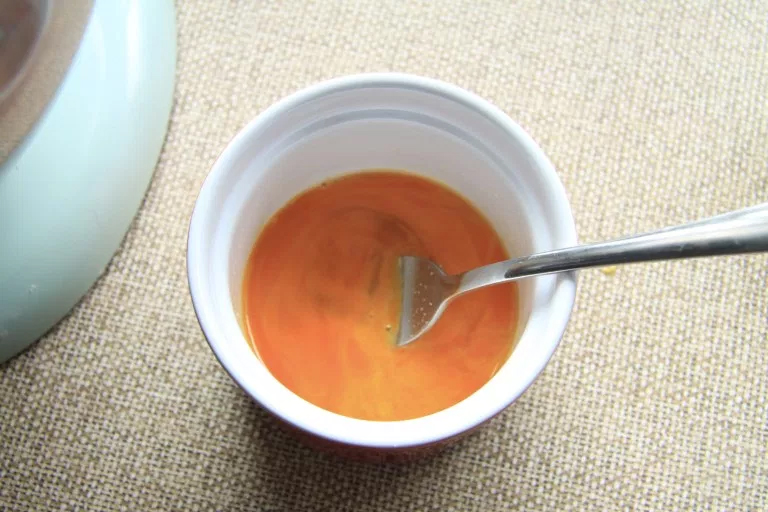
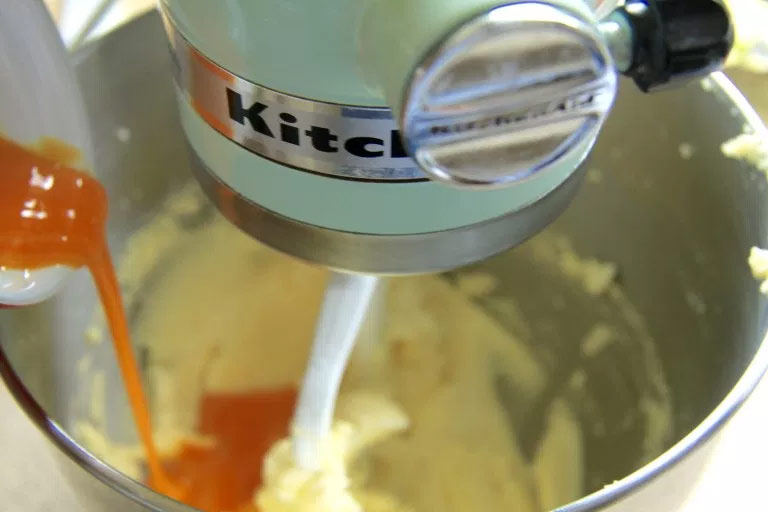
Side note: Eggs are emulsifiers which means they work to combine ingredients in a recipe. In this method, the eggs are important for ‘sealing’ the air pockets to help prevent them from collapsing when the butter melts in the oven.
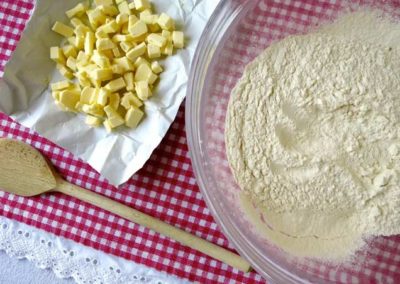
5. Gently fold in dry ingredients, trying to inhibit gluten formation
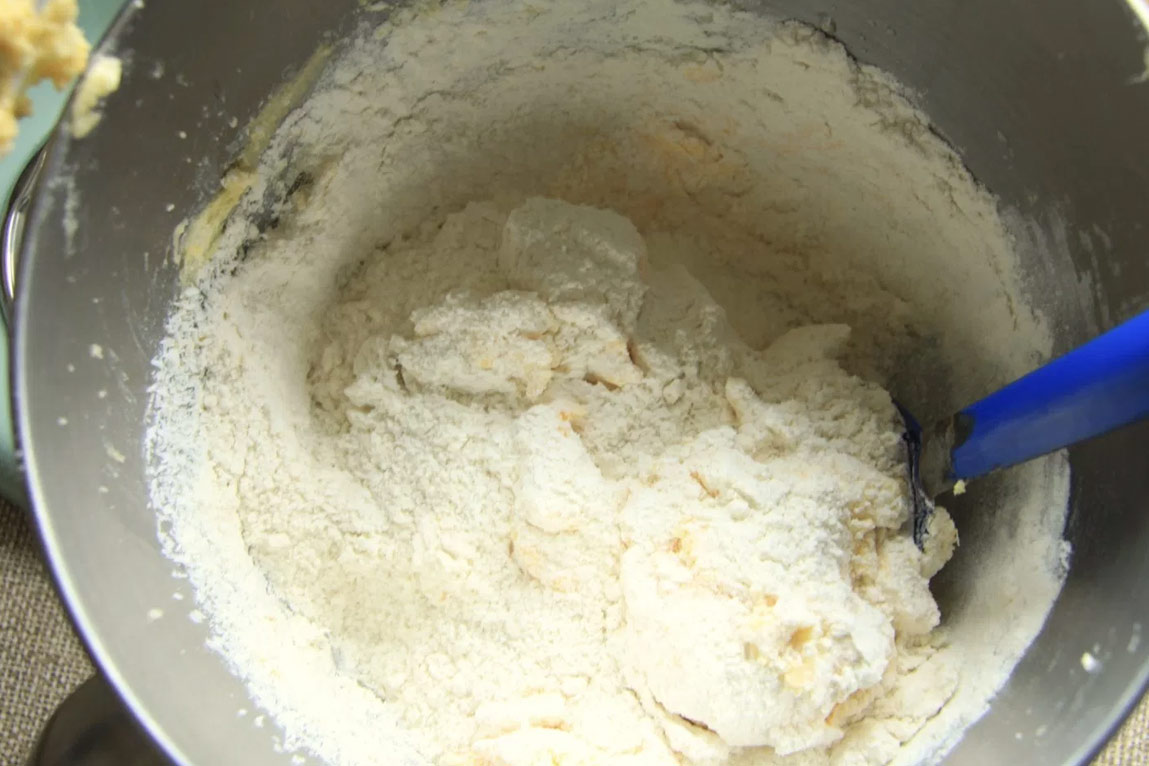
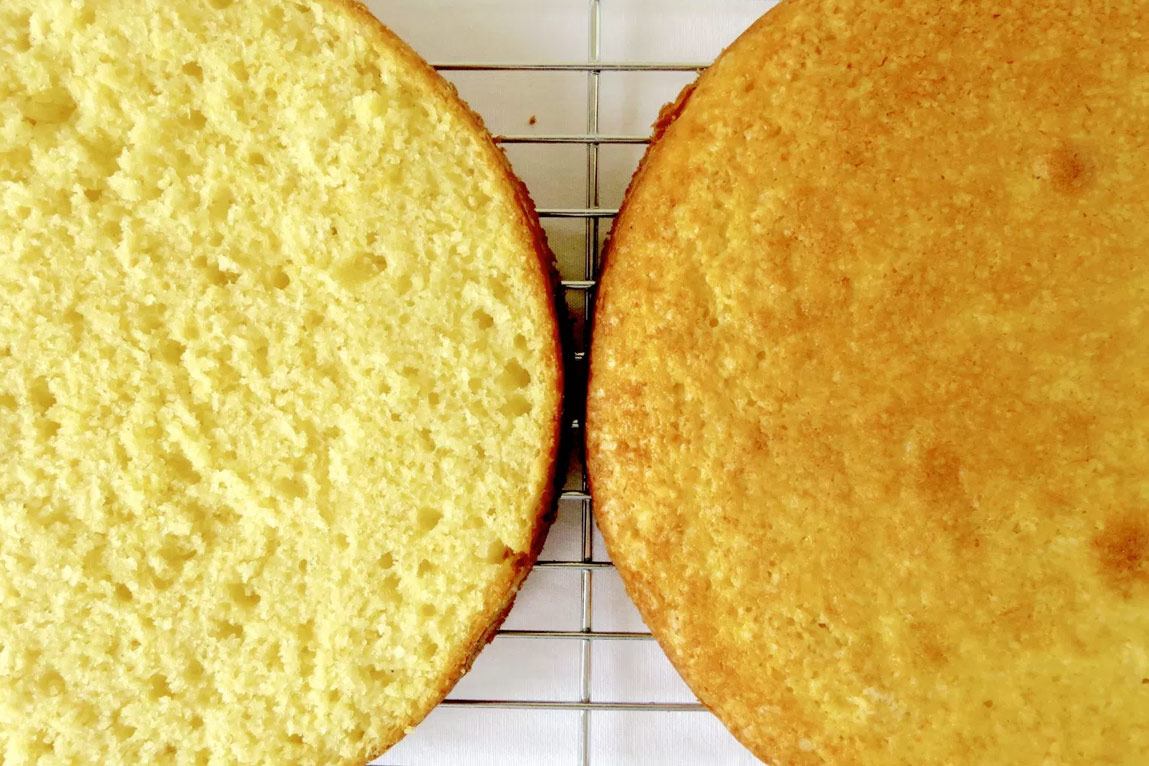
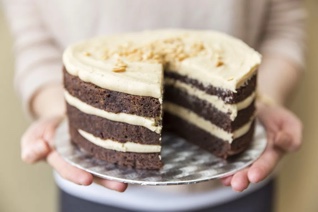
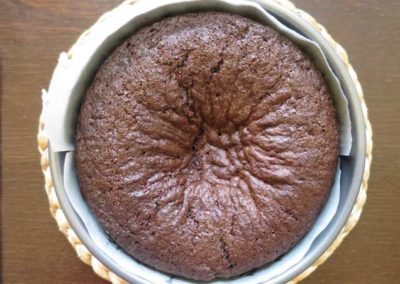
Photo: Classic Vanilla cake recipe
…and that’s how we cream butter and sugar. Magic right?
I can assure you that you will notice the difference in your cakes when you take the time to cream butter and sugar – the texture will be so much lighter and fluffier, the cake will melt in your mouth and the cake will rise a lot more too.
Wanting some recipes to practice using the creaming method?
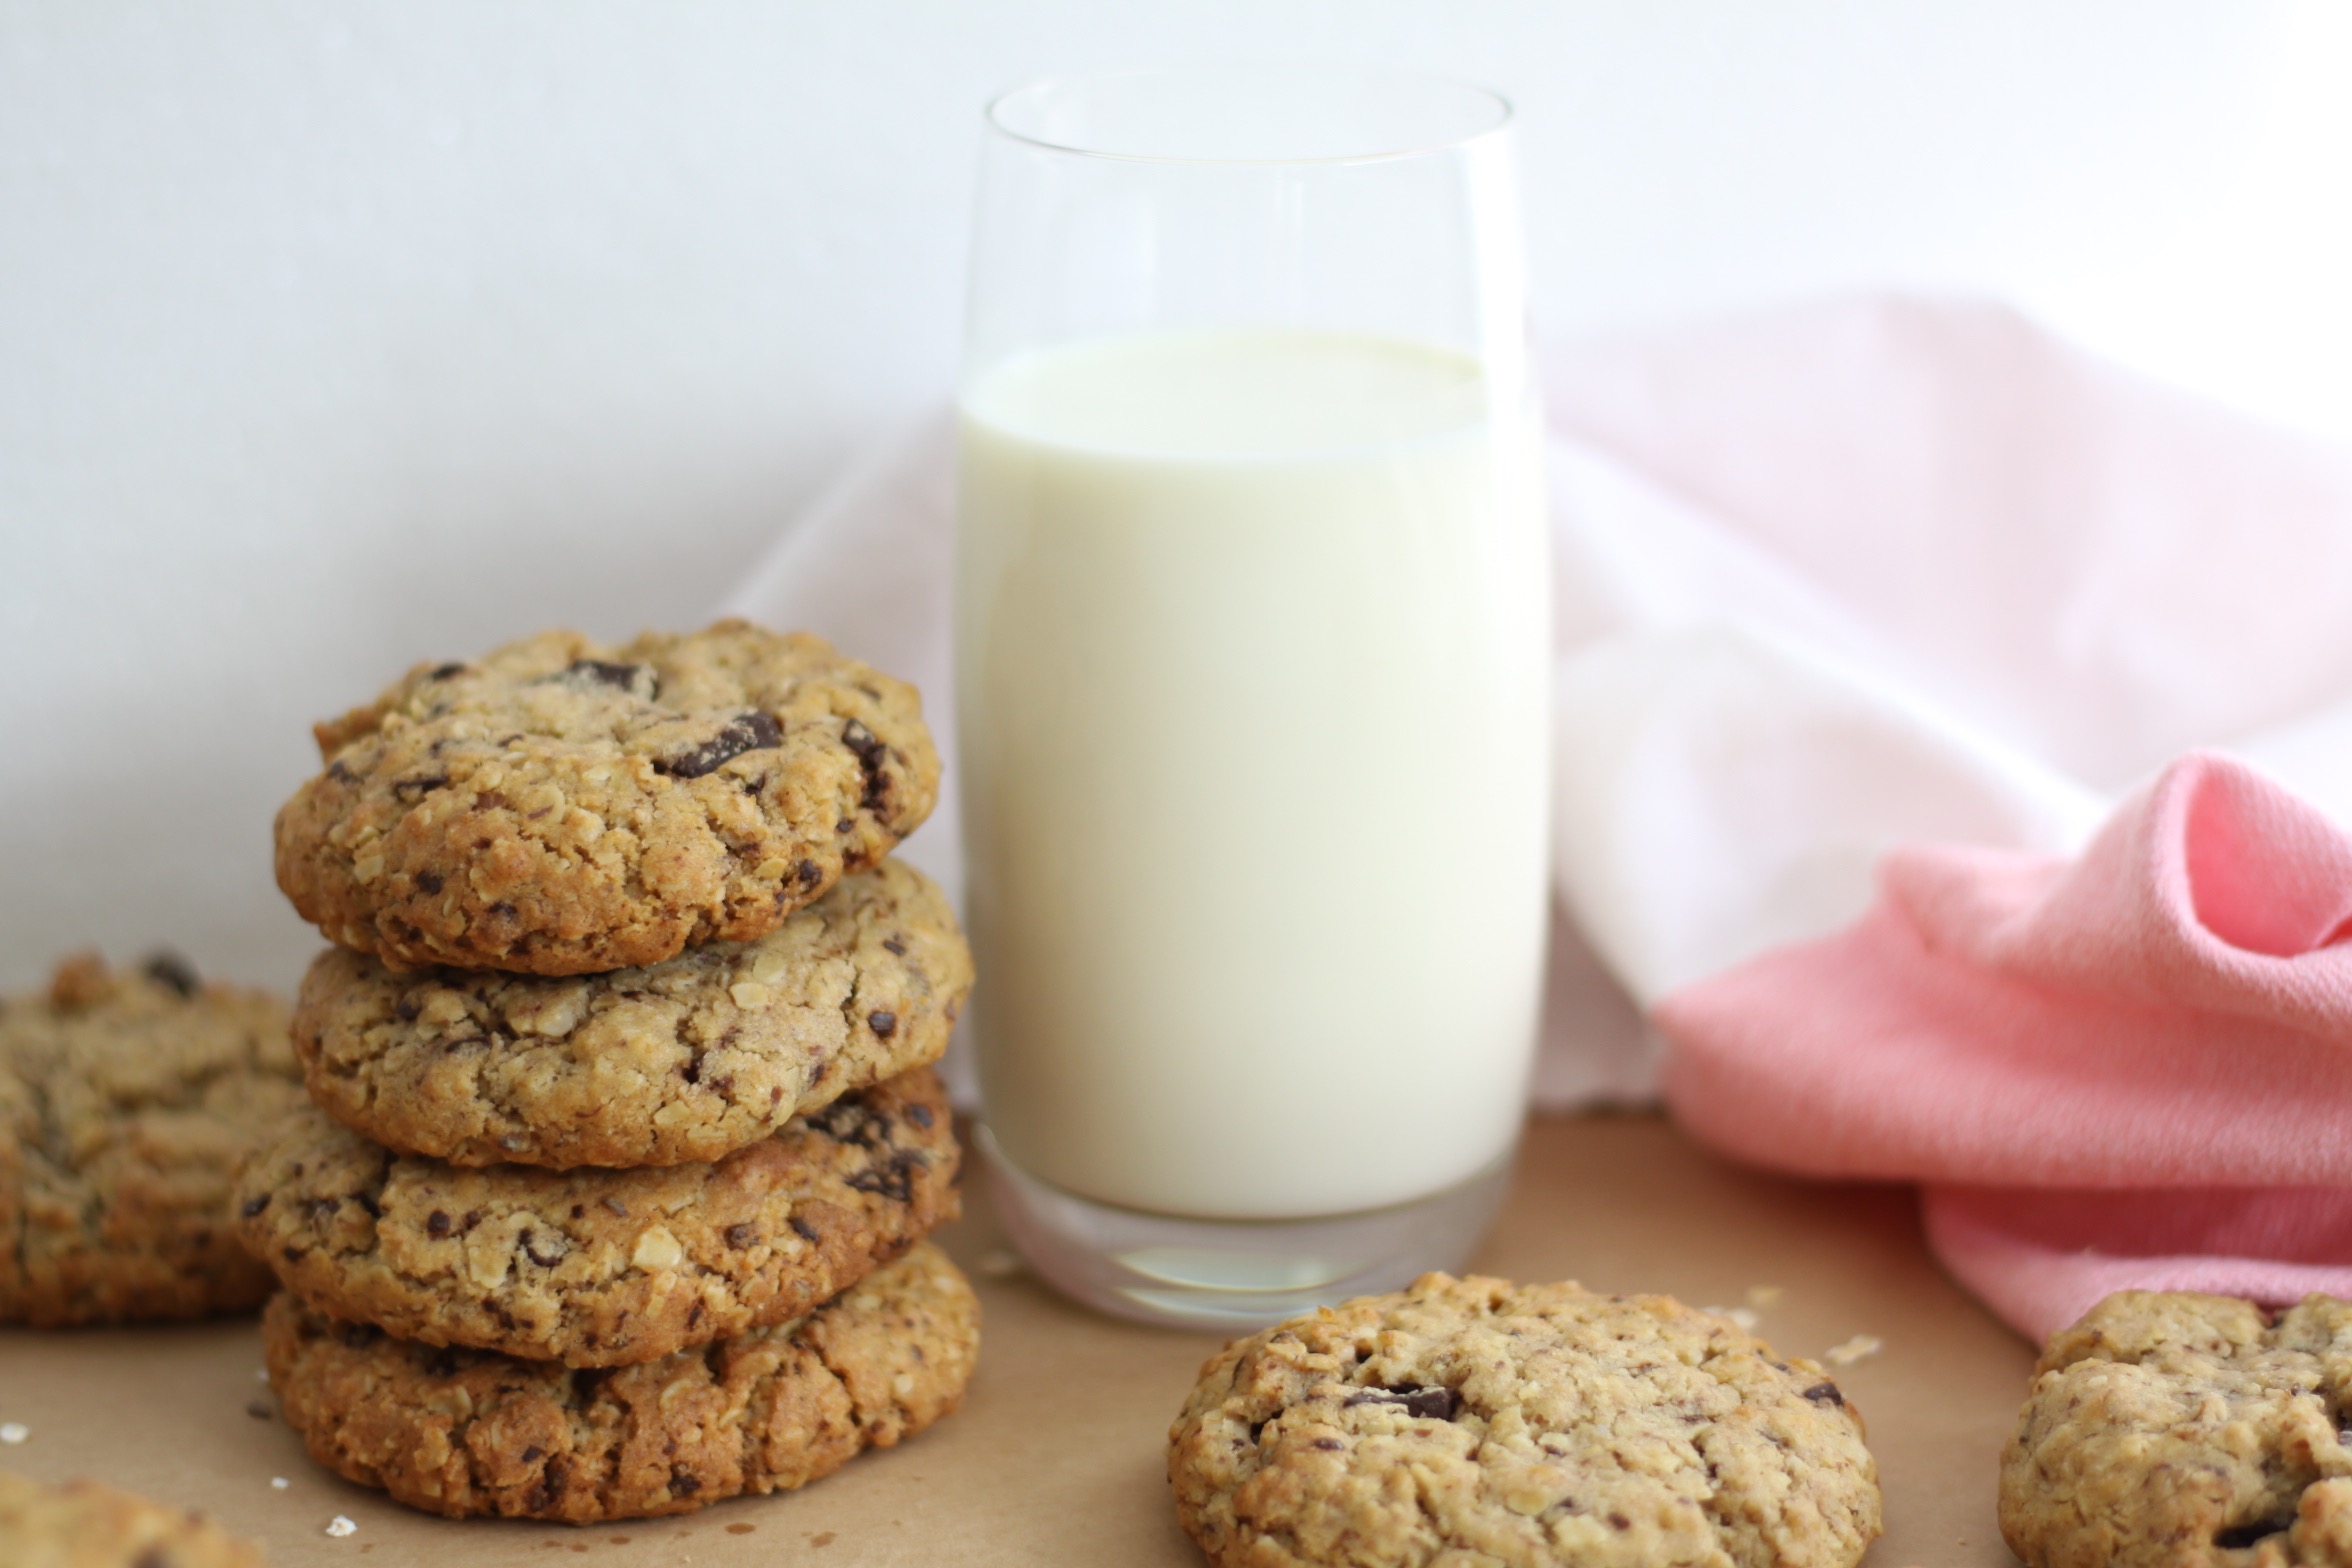
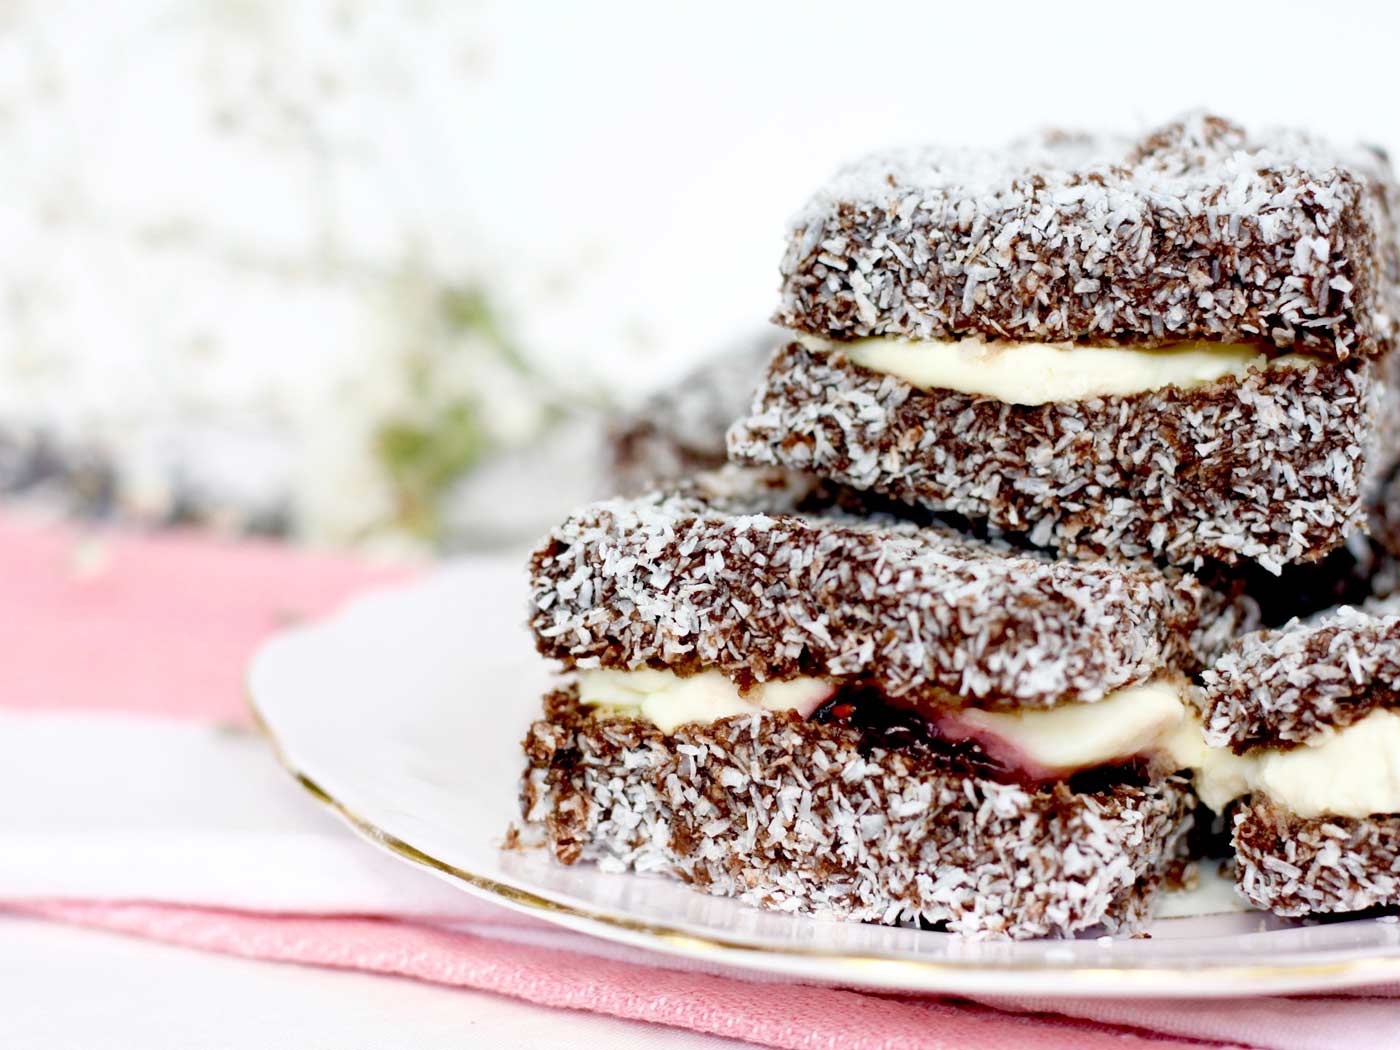
Give these ones a try:
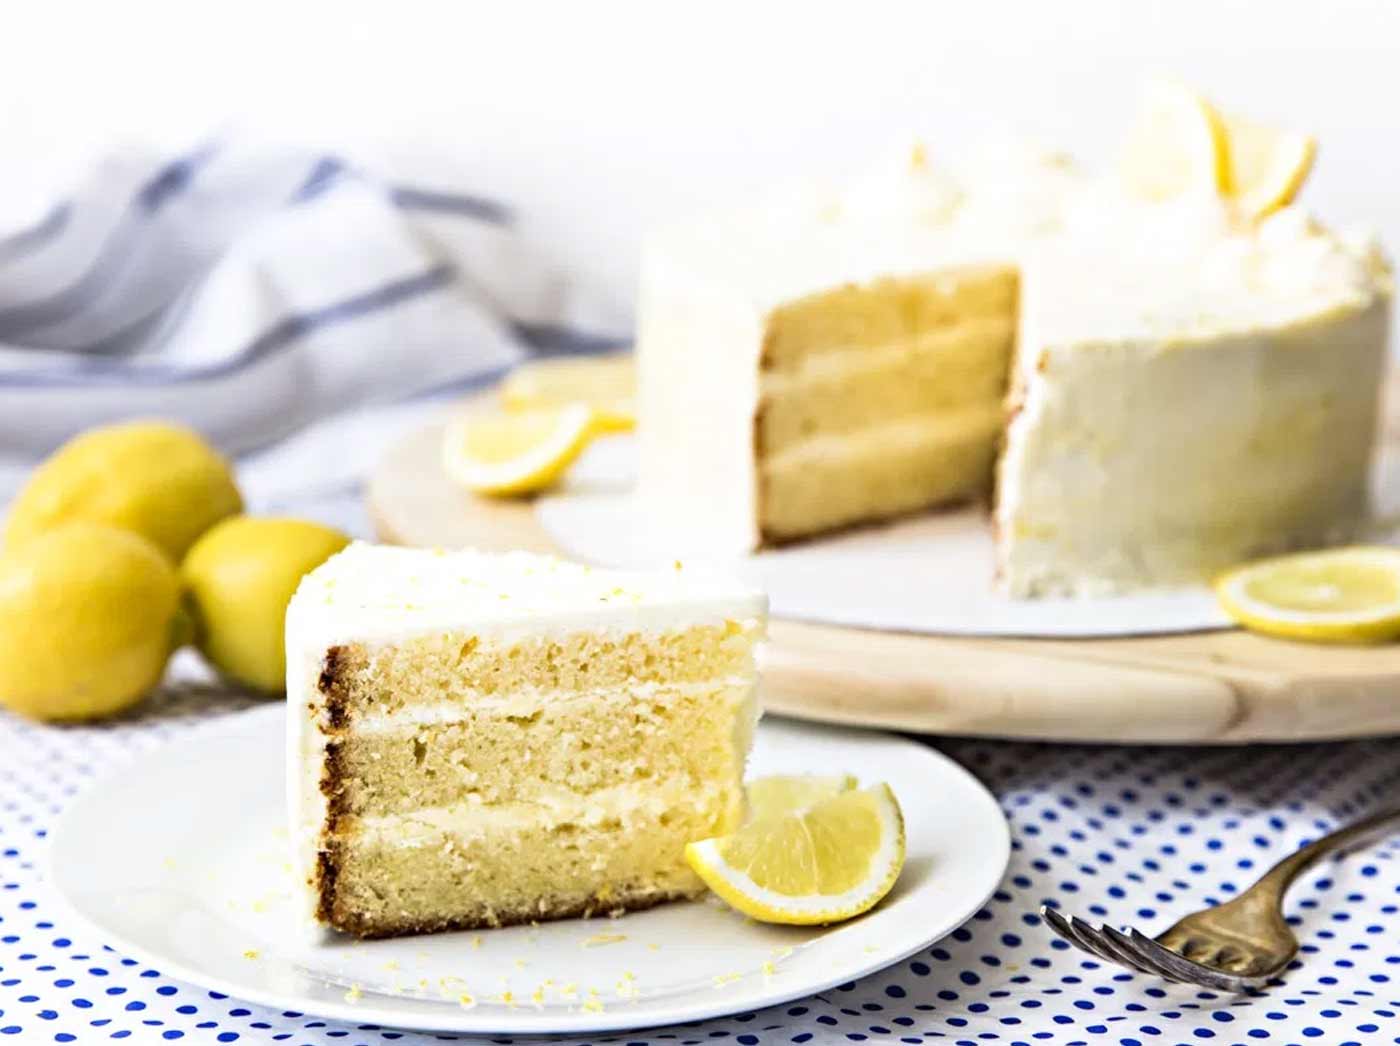
Lemon Layer Cake with Mascarpone Cream Frosting

YOU MIGHT BE INTERESTED IN
![]()