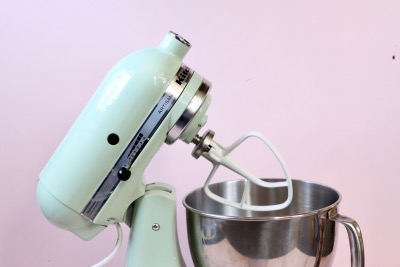
How to make PERFECT BUTTERCREAM – your guide

GLORIOUS BUTTERCREAM
I used to get a little anxious every time I went to make buttercream. Sometimes it would work out okay and some times it was a curdled, grainy, or a plain mess. Can you relate? If you’re completely new to the world of buttercream, then welcome!
You’re about to be introduced to something quite amazing. Here’s a few things you should know about it before we get started…
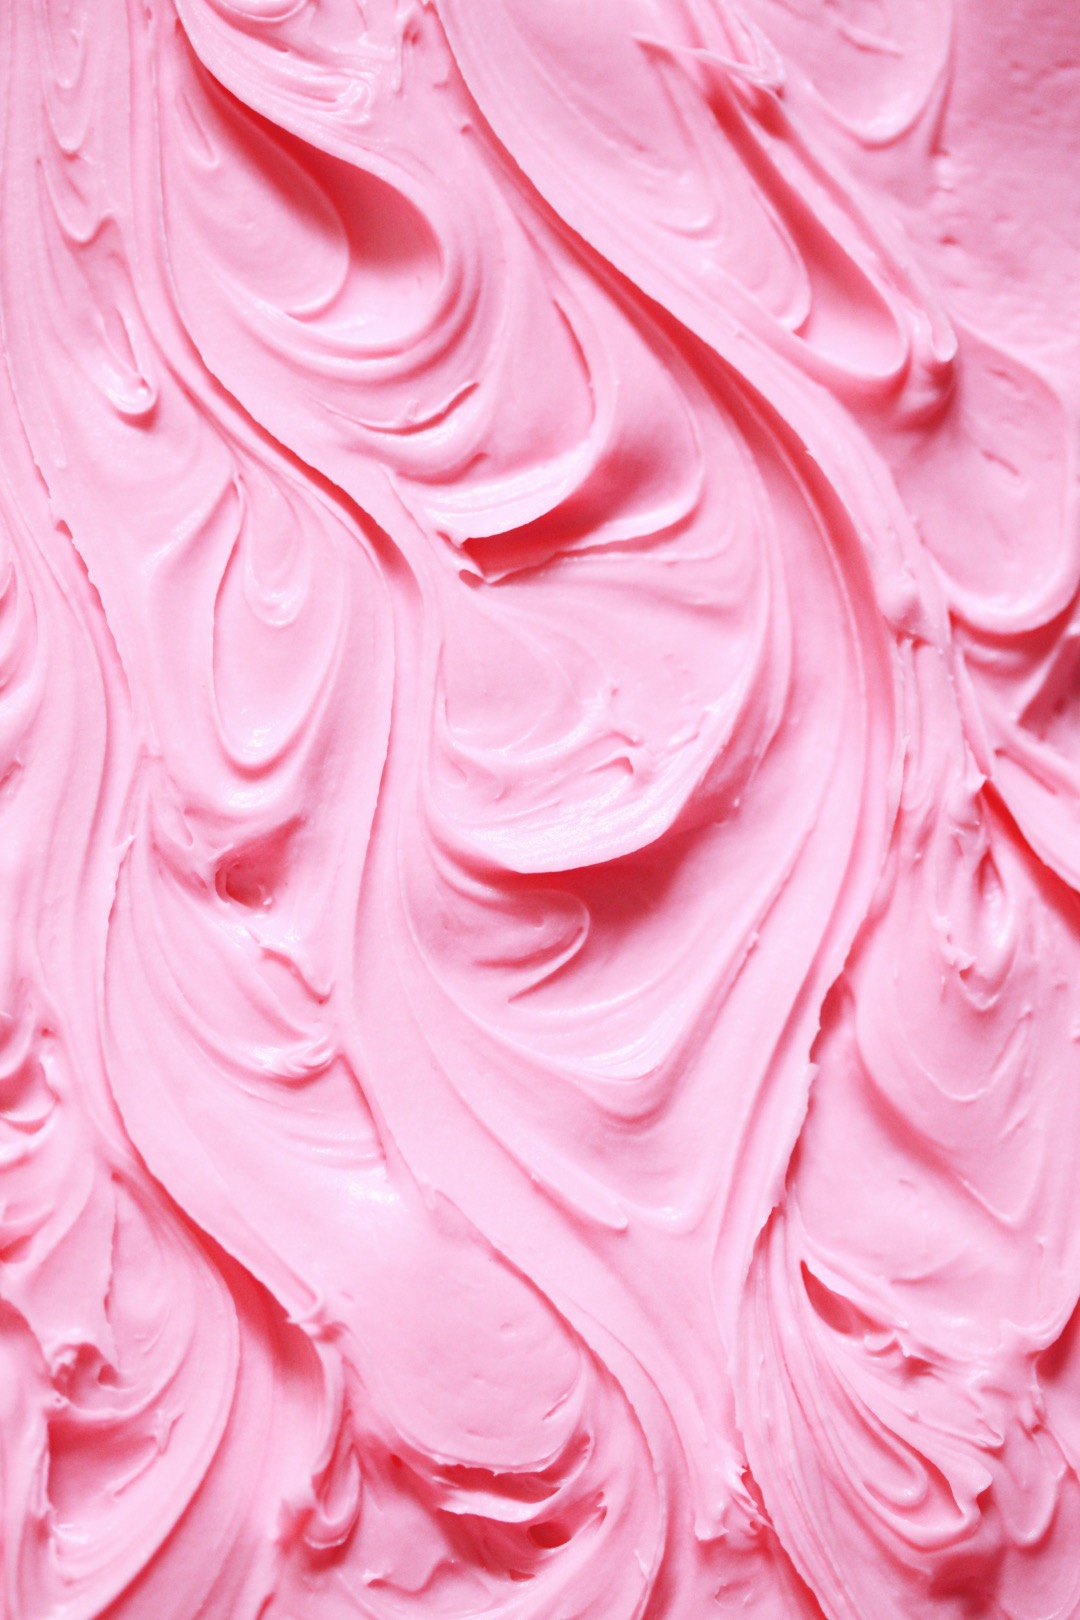
WHAT IS BUTTERCREAM?
Yes it can be a little confusing I know – there are so many types! Let’s just cut straight to the chase and separate them into two main groups to make it easy. Basically, there are many different names for buttercreams but they usually fit into two different categories which are:
- Butter-based (no surprises there) buttercream (like American buttercream and cream cheese frosting).
- Meringue based buttercreams (like Swiss Meringue, Italian Meringue and French meringue buttercream this one uses egg yolks instead of egg whites).
There are also custard-based buttercreams and boiled buttercreams (or Ermine buttercream) but we’re going to keep it simple and focus on the basic butter-based American buttercream (for more information about other buttercreams, check out this great post by Serious Eats).
Simple buttercream (like American buttercream) is made from beating butter and icing sugar together and typically involves adding a dash of milk or cream.
It’s rich in butter, it holds its shape well and it’s easy to work with – if you have the right recipe that is.
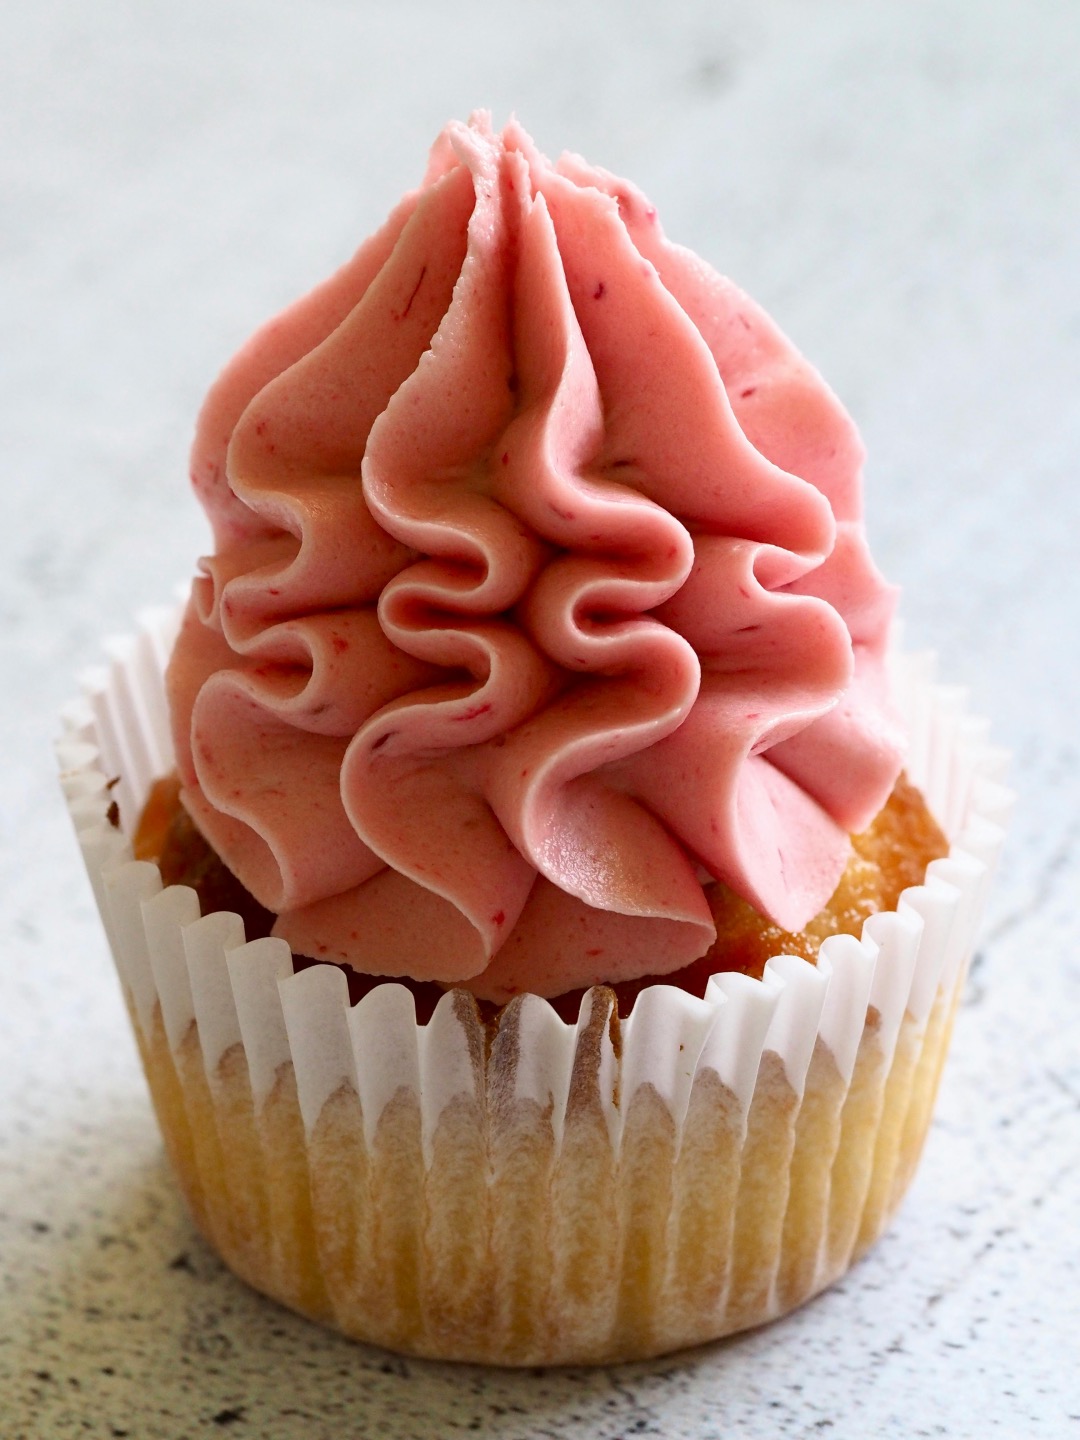
TROUBLESHOOTING THE PROBLEMS
I spent meany years making buttercream like what is mentioned above – beating butter and icing sugar together along with milk or cream to make it less thick and more creamy looking. But you know what? I learned the hard way that so many things can go wrong when making buttercream this way.
Like when it is:
- grainy/curdled
- soupy, too liquidy
- gets a crusty unattractive edge to it when it sets
- overly sweet
I did manage to find a way to solve all of these problems however…
HOW TO FIX BUTTERCREAM WHEN:
- It’s grainy and/or curdled – grainy or curdled buttercream can mean two things. Either, the mixture is too cold, or that it has been ‘shocked’ with too much liquid (e.g. cream, milk, flavouring) too soon. In both cases, it usually needs warming up (either with a hair dryer, a lukewarm water bath, or a warm towel wrapped around the bowl). Once it is a warmer temperature, whip it up again with an electric beater.
- It it is very thin and ‘soupy’ looking – This usually means that the mixture is too warm and needs cooling down. Putting the bowl in the fridge for 15 minutes or so and then beating it afterwards should fix it perfectly.
- It gets a crusty unattractive edge to it when it sets – see below for the answer! 🙂
- It’s too sweet – sometimes there is too much icing sugar in the buttercream which makes it overly sweet. Adding salt will counteract the sweetness. I like to add about 1/2 teaspoon for every 3-4 cups of icing sugar.
THE SECRETS AND TIPS TO MAKING THE BEST BUTTERCREAM:
Knowing these solutions was all well but I wanted to find a way to prevent these problems from happening in the first place. I also wanted my buttercream to look like the frosting on top of the cupcakes I saw in baking books and in bakeries.
It was over time that I found the answer – it was the water from the milk/cream liquid that caused my buttercream to form an unwanted ‘crust’ and my buttercream was more likely to curdle when I added it.
So the secret?
I don’t use milk or cream in my buttercream!
That’s right, omitting milk or cream from my buttercream gives me a lighter and fluffier buttercream! Who would have thought? The water found in some flavourings like berries etc. can also cause the same problems that milk and cream do, so best to use sparingly.
Okay, so that’s tip number 1 (I know, it might be hard to believe, but I assure you that your buttercream will be a much better consistency without it, trust me! :)).
Tip number 2:
Start with room temperature or very soft butter.
This helps the buttercream to get nice and creamy. The butter should be soft enough to easily press your finger into it, but not so soft that your finger sloshes right through it. if making this buttercream in a cooler temperature (e.g. if it is winter where you are), you may find that you have to soften your buttercream once it has been made as butter can harden quickly when cold.
Simply pop the buttercream into a microwave safe bowl and heat it for 10-15 seconds and then whip up again just before use. It should be a smooth, creamy consistency.
Tip number 3:
Beat the butter first (before adding the icing sugar). This gives it a chance to get whipped up nice and fluffy. I like to add a pinch of salt at this stage too.
Tip number 4:
Gradually add your icing sugar and beat well after each addition. Once all the icing sugar is added, continue beating the buttercream until it is super soft, creamy and fluffy.
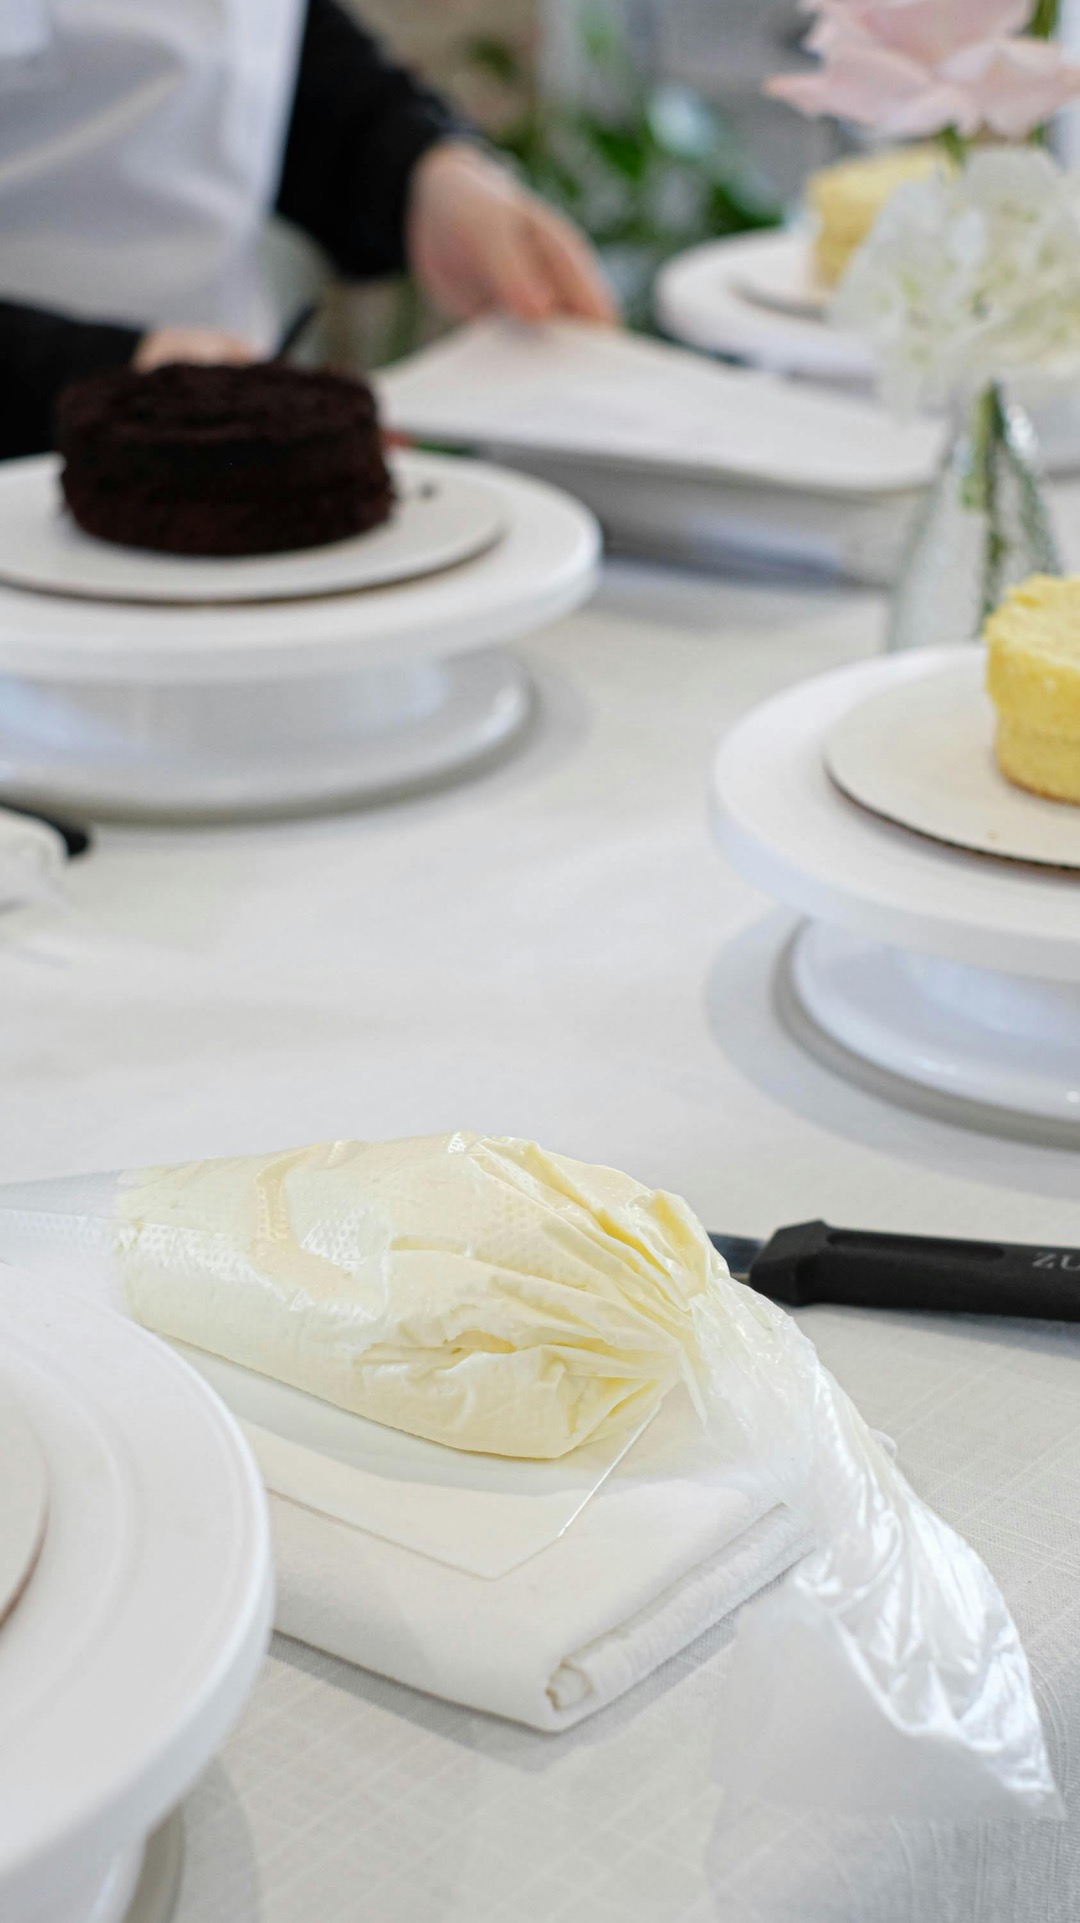
THE BEST BUTTERCREAM RECIPE:
Okay so now that we’re sorted with the tips, let’s talk about ratios.
A simple buttercream recipe has 1 part butter: 2 parts icing sugar – that’s it!
(Plus flavourings of course, we’ll talk about those in as second).
So for an average 2 layer 8 inch (20cm) or 9 inch (23cm) cake, 250g butter and 500g icing sugar should be enough to fill and frost the layers of the cake.
I usually start with a particular amount of icing sugar and then double or use slightly less icing sugar until I get the taste, consistency and amount of buttercream that I want.
Flavourings:
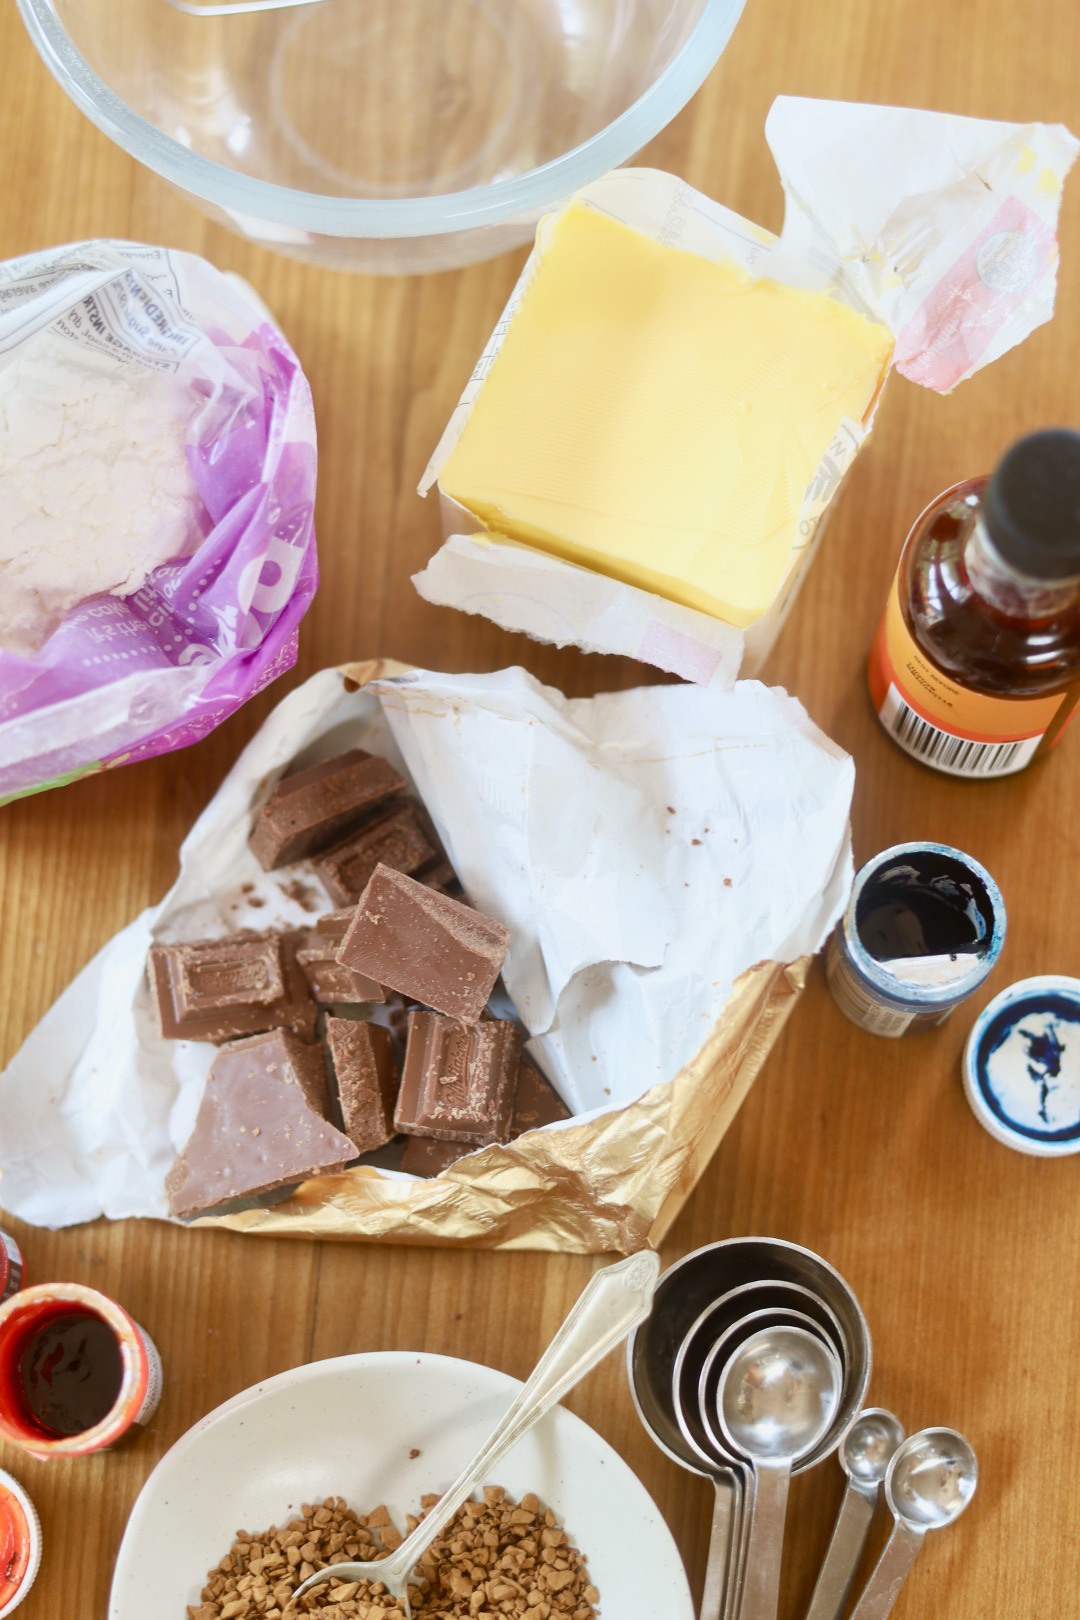
Flavouring options are endless when it comes to buttercream. From vanilla, coffee, pistachio, or walnut to elderberry, chocolate and mint. Adding them is easy and you can add them to the basic ratio formula mentioned above.
Here are a few examples:
Vanilla Buttercream:
Simply add scraped vanilla beans and/or vanilla extract into the buttercream at any stage of the process and beat well. I like using vanilla buttercream as a base for nearly all other flavours.
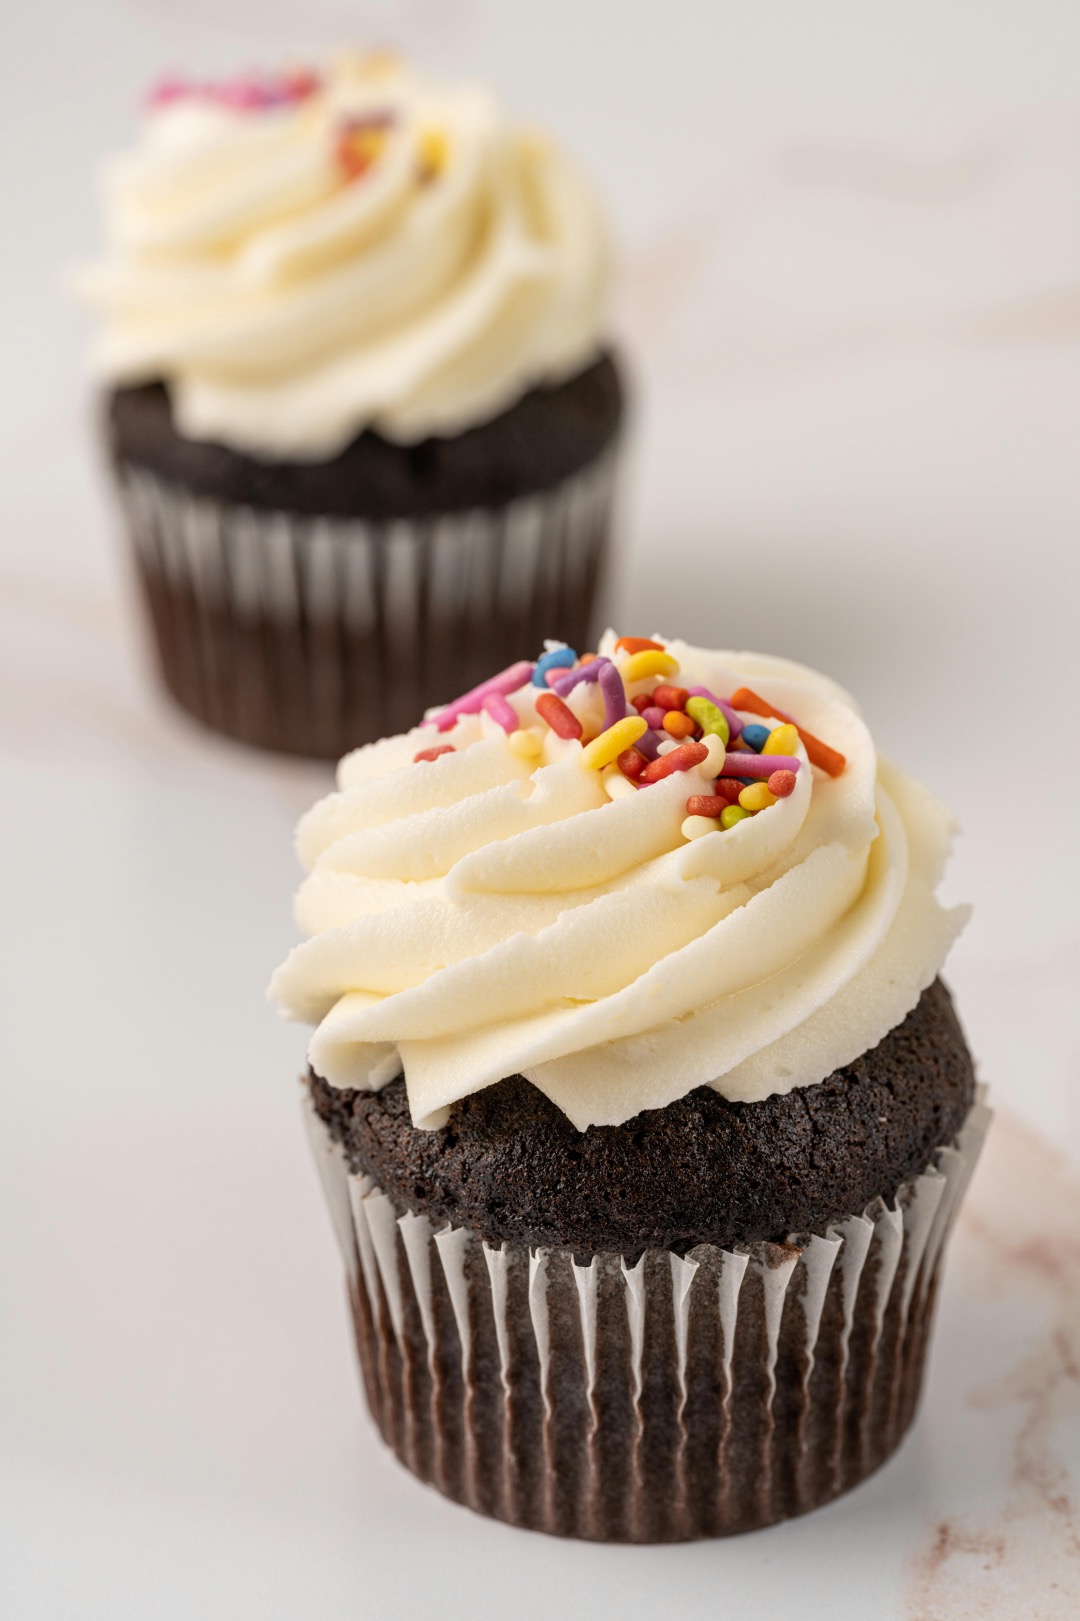
Chocolate Ganache Buttercream:
Add 2 – 3 tablespoons of chocolate ganache (see below for recipe) as well as two to three tablespoons of cocoa powder (the amount will depend on your colour and taste preference) to the buttercream and beat well. Chocolate Ganache Recipe: 1 part cream: 1 part chocolate. If preferred, you could omit the chocolate ganache and just add cocoa powder instead (but it tastes a whole lot better with chocolate ganache!)
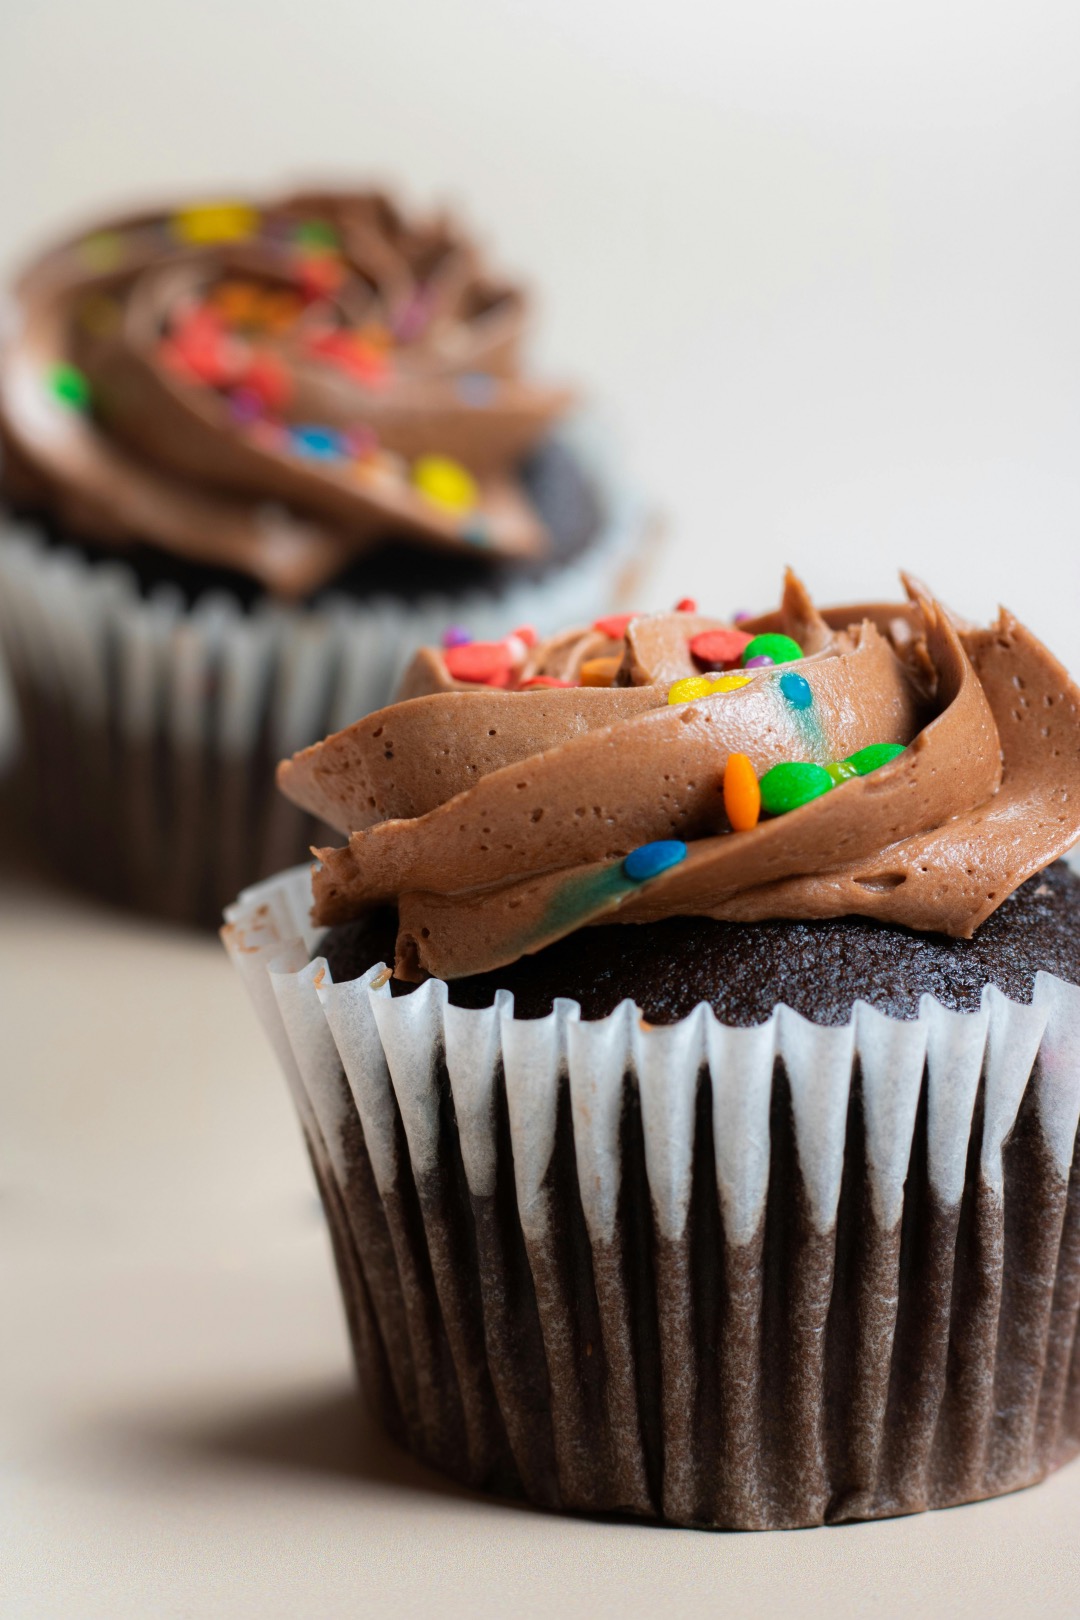
Raspberry Buttercream:
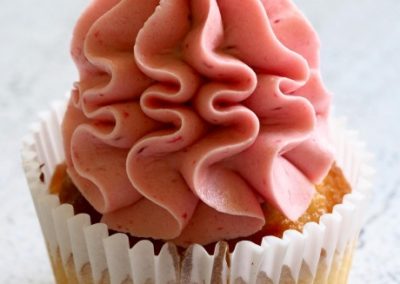
Add 2 – 3 tablespoons of pureed raspberries plus a few drops of red food colouring to the buttercream and beat well. You could also use a berry jam instead but bear in mind that it will be very sweet. If you have neither and want the pink colour, add food colouring instead (this will not have a berry flavour though).
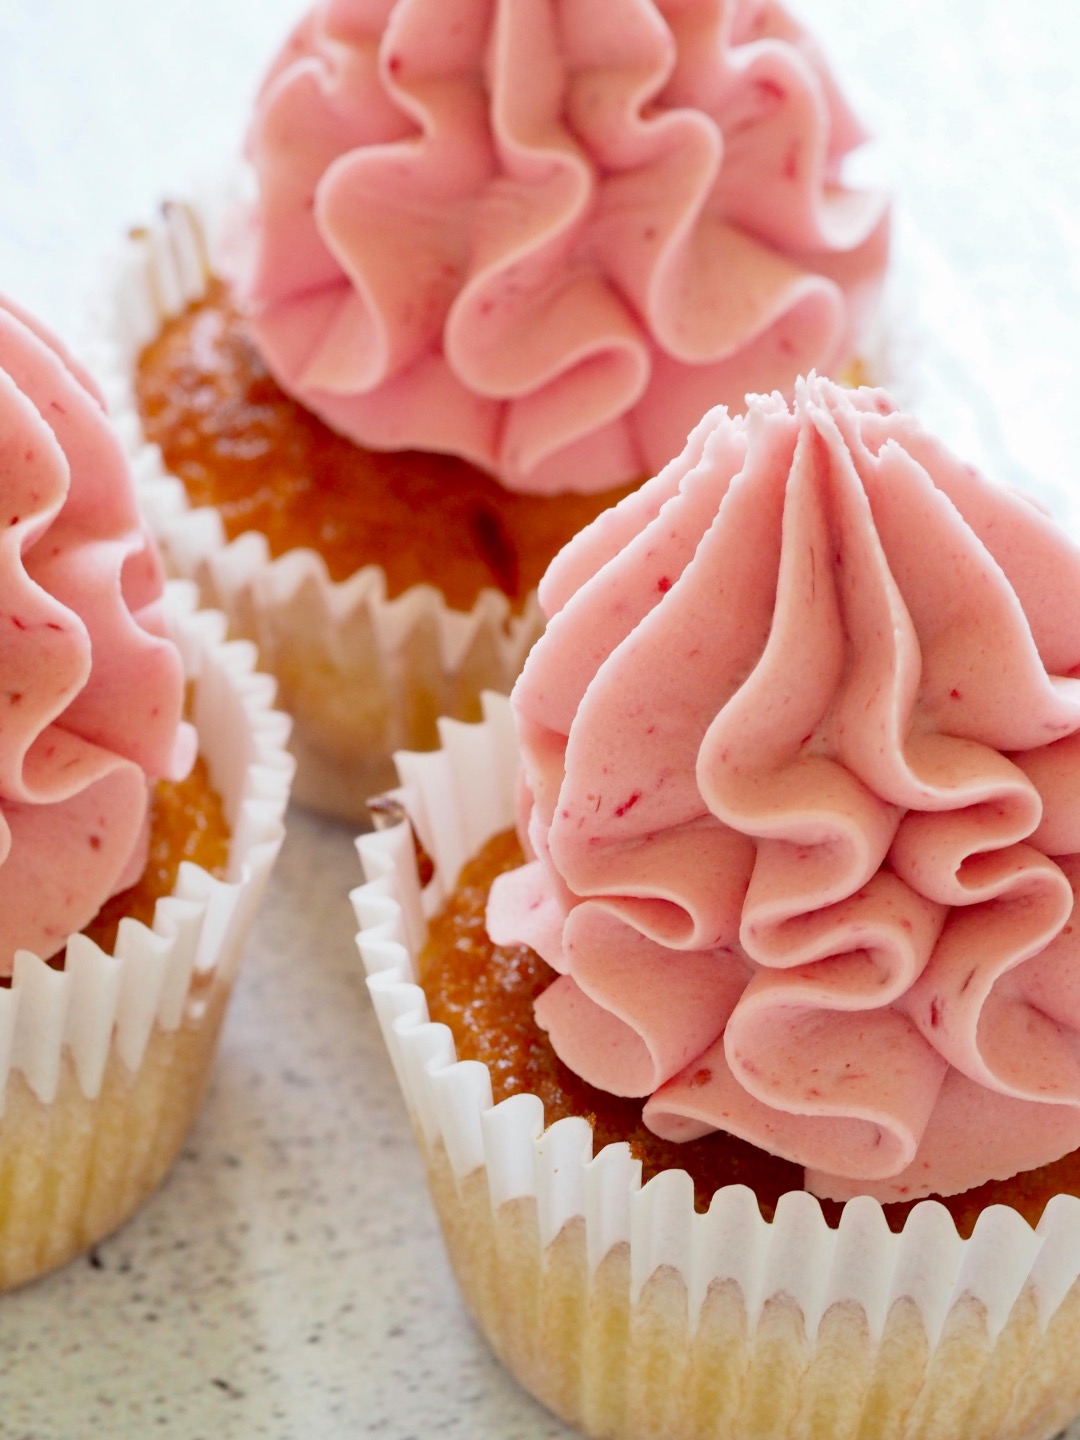
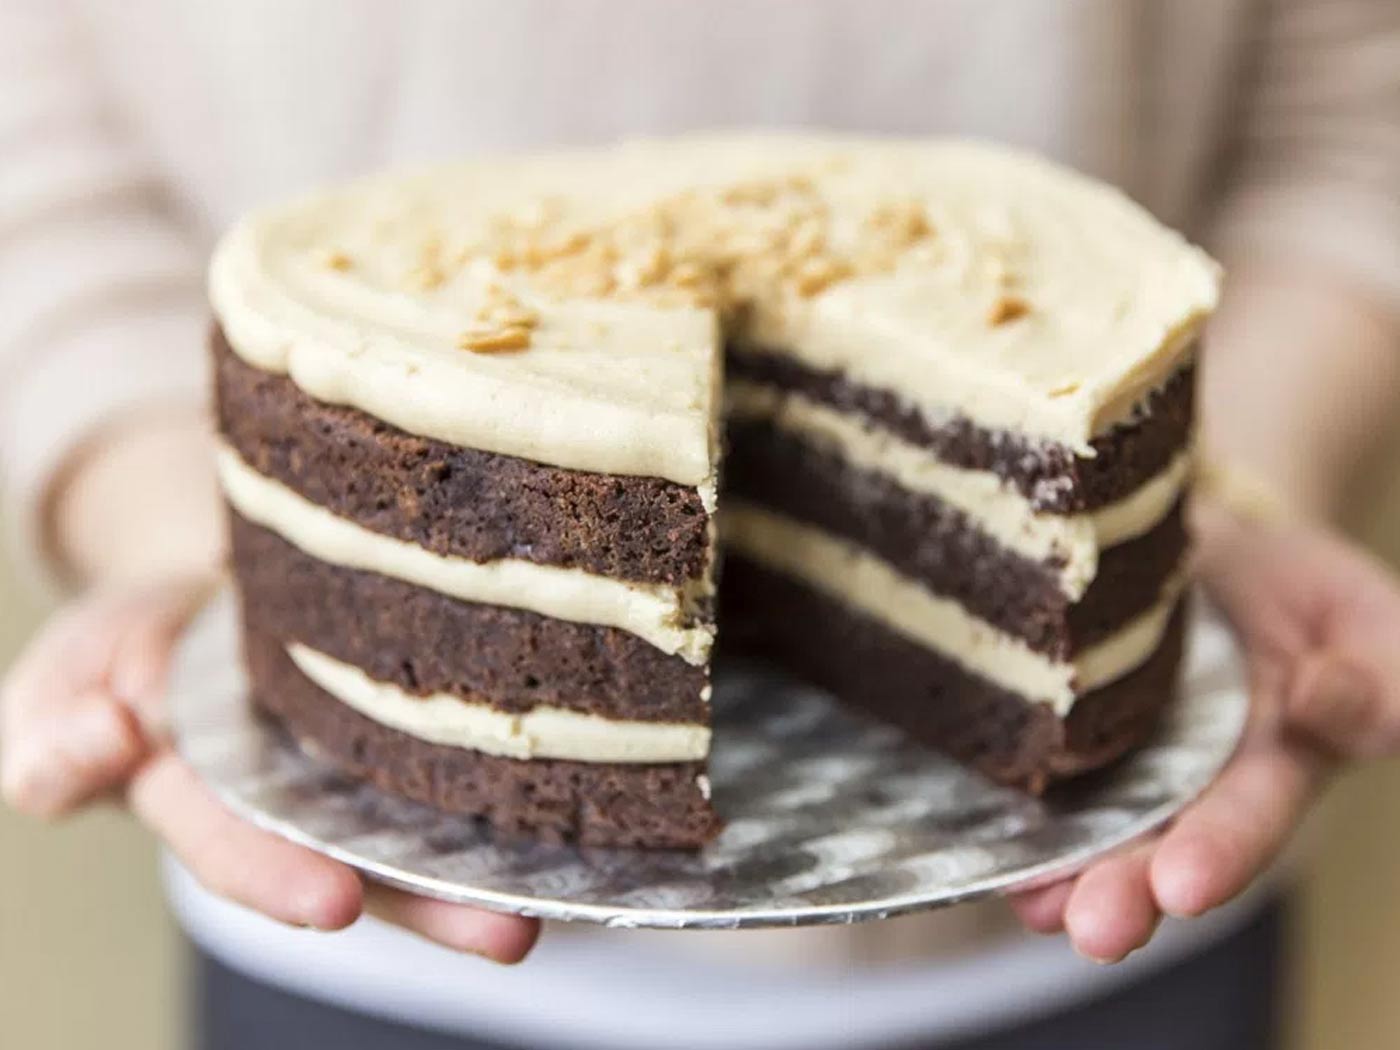
As I said, the options are endless! What’s your favourite flavour? Mine is probably this peanut butter one…
How to make PERFECT BUTTERCREAM – RECIPE
This is a basic buttercream recipe that you can add anything to. It’s super quick and easy to prepare!
This recipe makes about 3 cups which is enough to frost 12 -15 cupcakes or a two layer 8/9 inch naked cake.
Double the recipe to frost an entire 8/9 inch layer cake.
PREP TIME: 15min
INGREDIENTS
250g (just over a cup) butter, softened
300-500g (2 + 1/2 – 4 cups) icing sugar, sifted
Salt, to taste (I like to use 1/2 teaspoon)
FLAVOURINGS (OPTIONAL)
Vanilla: 2 teaspoons real vanilla extract and/or 1/4 teaspoon scraped vanilla bean
Chocolate: 2 tablespoons chocolate ganache + 2-3 tablespoons cocoa powder (see below for ganache recipe).
Raspberry: 2 -3 tablespoons pureed raspberries, berry jam or a few drops of liquid/gel food colouring
Lemon: 1 zest of a lemon + 1 tablespoon lemon juice
METHOD
![]()
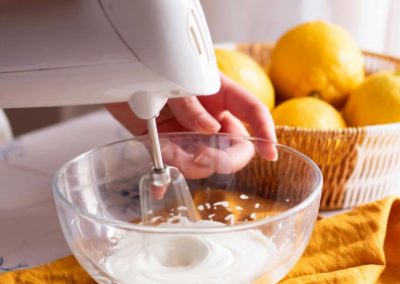
1. Place softened butter in a medium sized bowl and beat until fluffy with a stand/hand held mixer. Add salt and continue to beat for 20 seconds or so.
2. Gradually add sifted icing sugar (about 3/4 cup at a time), and beat well after each addition (the mixture will be thick and will thin out with more beating and once you add your desired flavourings). Add chosen flavourings and continue beating until you reach desired consistency. If it is too thin, add more icing sugar, if it’s too sweet add more salt.
(To know how to make this buttercream in colder temperatures (e.g. winter) scroll down to the “Tips and Tricks” section above).
NOTES:
This buttercream can be prepared in advanced to be used later. Simply store it in an air tight container in the fridge or pop in a ziplock bag/air tight container and freeze. When ready to use, bring buttercream to room temperature and then beat with a stand/hand held mixer until it is light and fluffy. Chilled/frozen buttercream can be softened in the microwave in 20 secend increments. It will last in the fridge for several weeks and up to 3-4 months in the freezer.
By Sarah Sears

