HOW TO: TIPS & TRICKS
HOW TO LINE A CAKE TIN

I have a love-hate relationship with my spring-form tin. I love it because it’s easy to use, clean, line, and remove baked cakes from. I hate it because it can easily become misshaped and the latch is very prone to breaking – and the day it breaks could be any day. Any-day- which leaves me in constant fear every time I go to use it.
Thankfully it hasn’t failed me yet (touch wood).
Whether you love or hate your spring-form tin, there’s one simple trick you need to know when lining it with baking paper – and thank-goodness because I’ve never enjoyed the process of lining cake tins much.
How to line a cake tin

First:
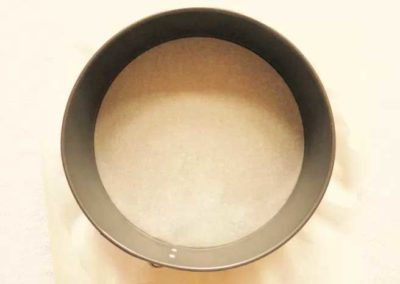
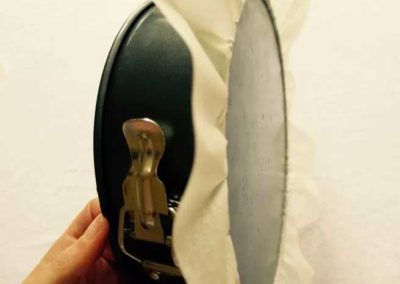
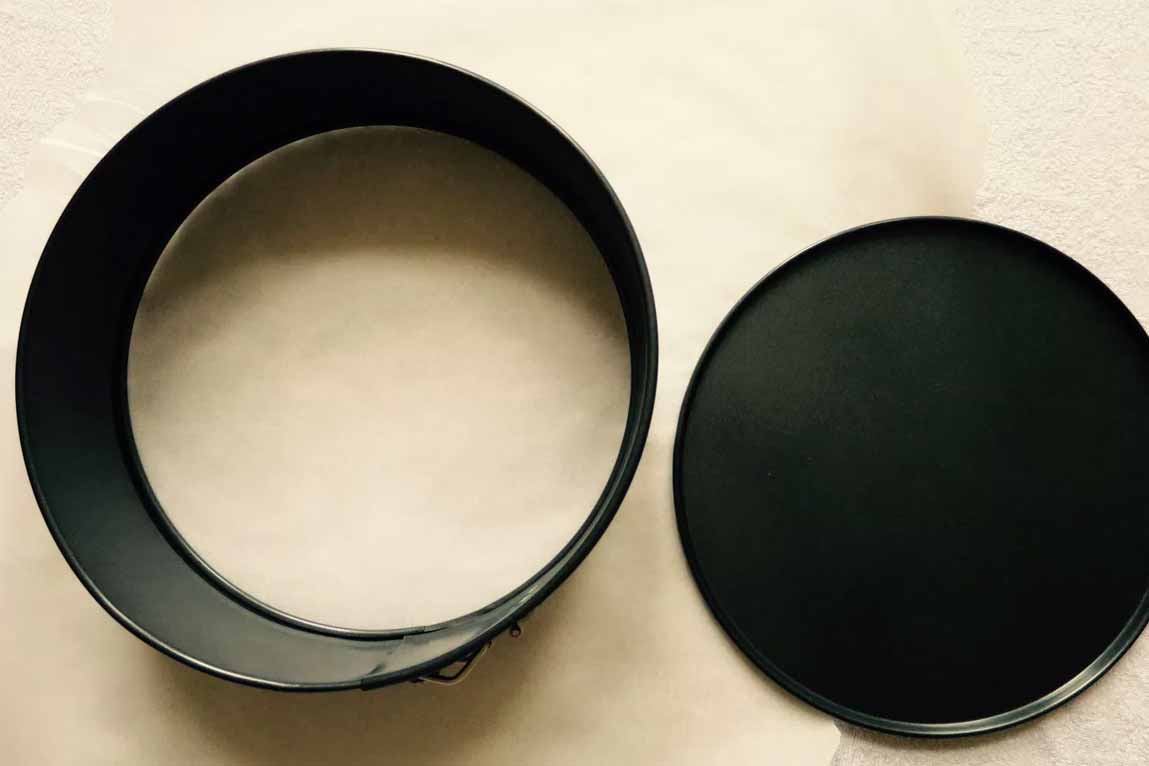
Cut a large piece of baking paper big enough to cover the size of your tin and unclasp the cake tin so that you have the bottom piece and the cake ring piece.
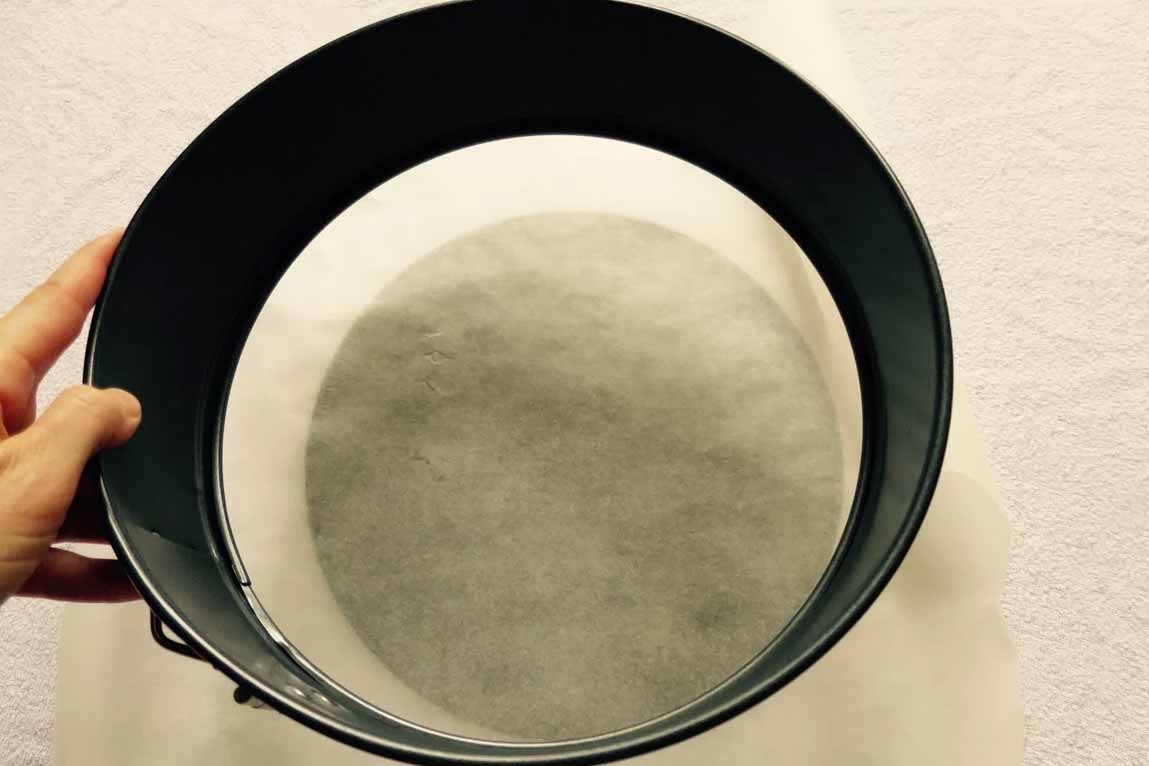
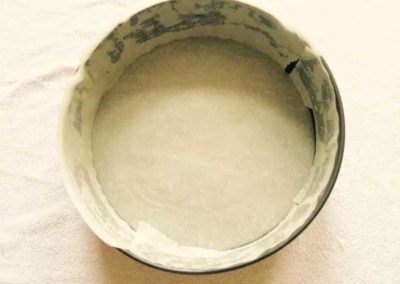
The baking paper should be nice and snug inside the tin with paper hanging out the edges.
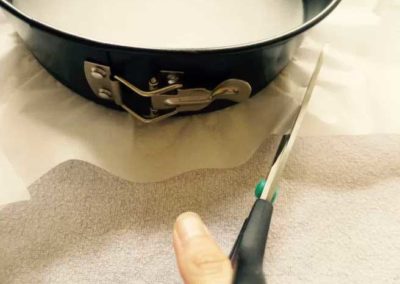
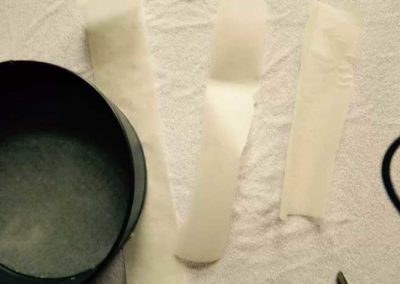
4. Trim the overhang baking paper into strips (thick enough to cover cake ring), removing as much from the edge of the cake tin as possible whilst trying to cut even strips.
YOU MIGHT BE INTERESTED IN
![]()

