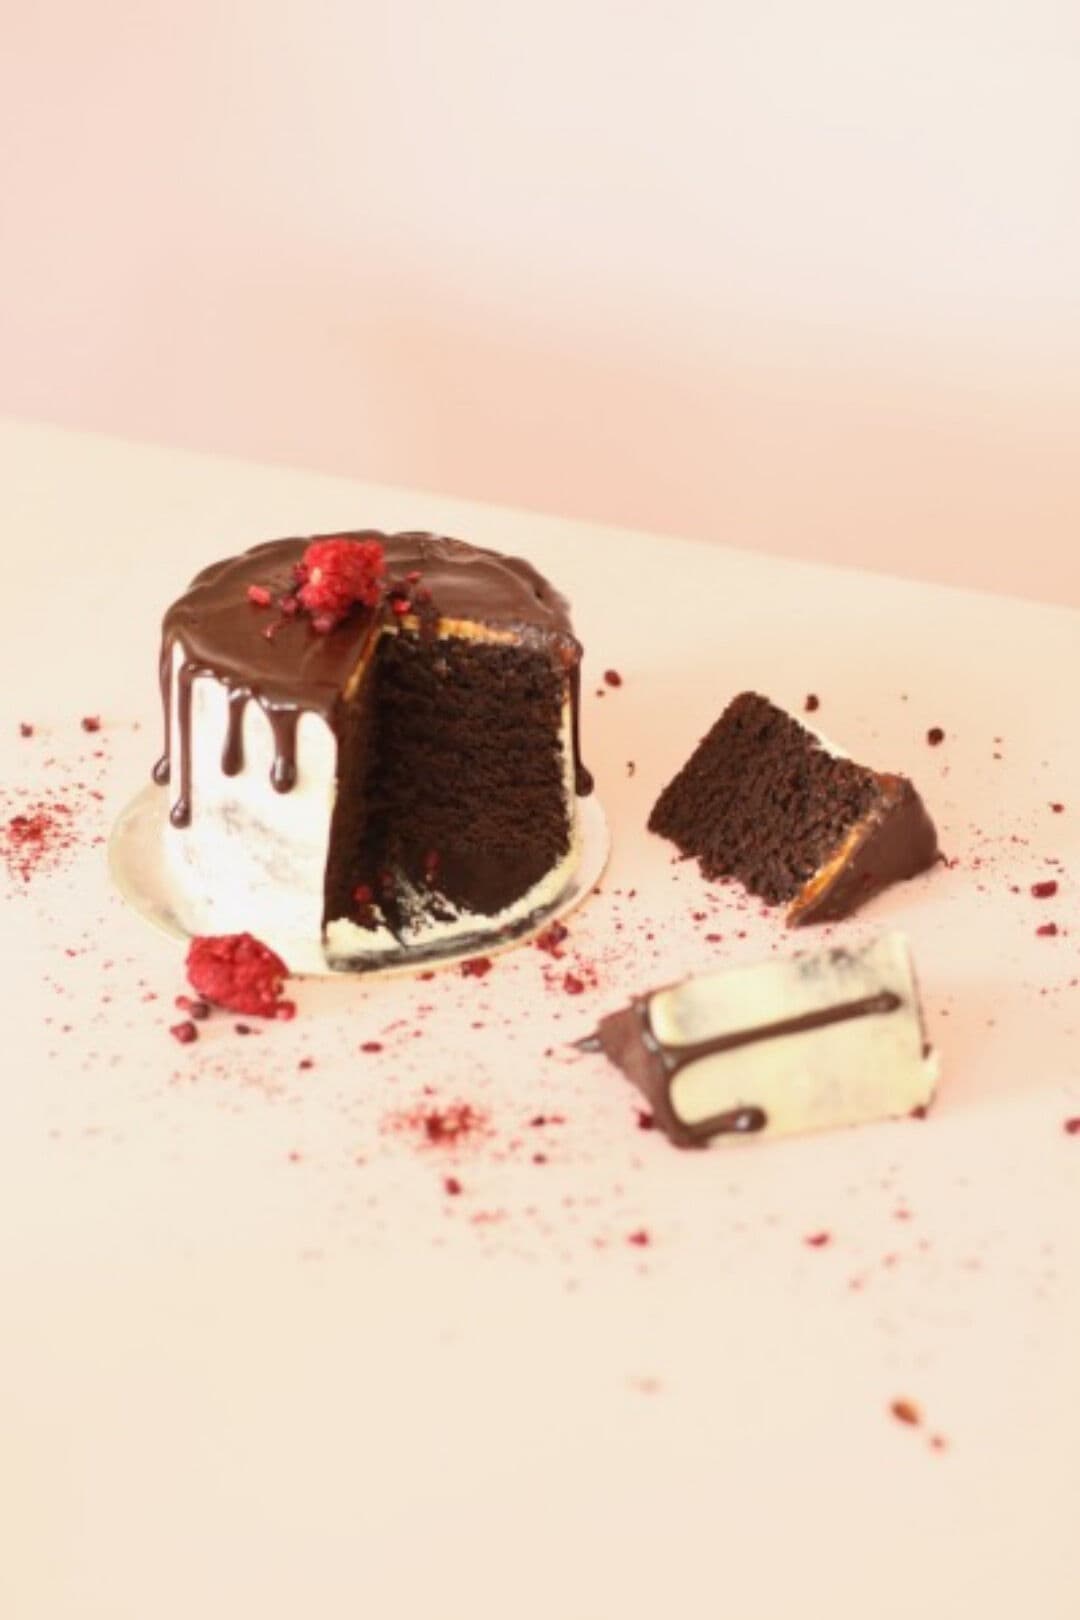
A chocolate drizzle instantly transforms any cake from simple to stunning. Smooth, glossy, delicious! Making a chocolate ganache drizzle is easy as long as you know these three easy tips. See below!

1. Choose your chocolate carefully
Not all chocolate is equal in drizzle world. The chocolate that I have found to work best for drizzles is chocolate that has 50% cocoa solids. It drips much nicer than 30-40% chocolate. That being said, I do use Whittaker’s 70% for vegan chocolate drizzles as this has no milk solids in it. Although it still drizzles nicely, I definitely notice the difference.

2. The chocolate ganache must be at room temperature
This does require a little patience, which has tested me in the past, but the wait is well worth not ruining a cake by dripping warm ganache all over it.
If you try to use the ganache straight away, it will not only melt the icing but it will also be too runny to use. Wait until the bowl that is holding the chocolate is at room temperature. I promise you won’t regret the wait.
If you want to make your ganache in advance, make it as directed in recipe below and then store in the fridge. Microwave in 30 second increments until the ganache reaches a PVA glue-like consistency.
3. The cake must be cold
For complete drizzle success, ensure that your cake is COLD. Like really cold. I often pop mine into the freezer for 5 minutes to let the buttercream really firm up and set cold so that the drizzle can drizzle and set on the cold cake.
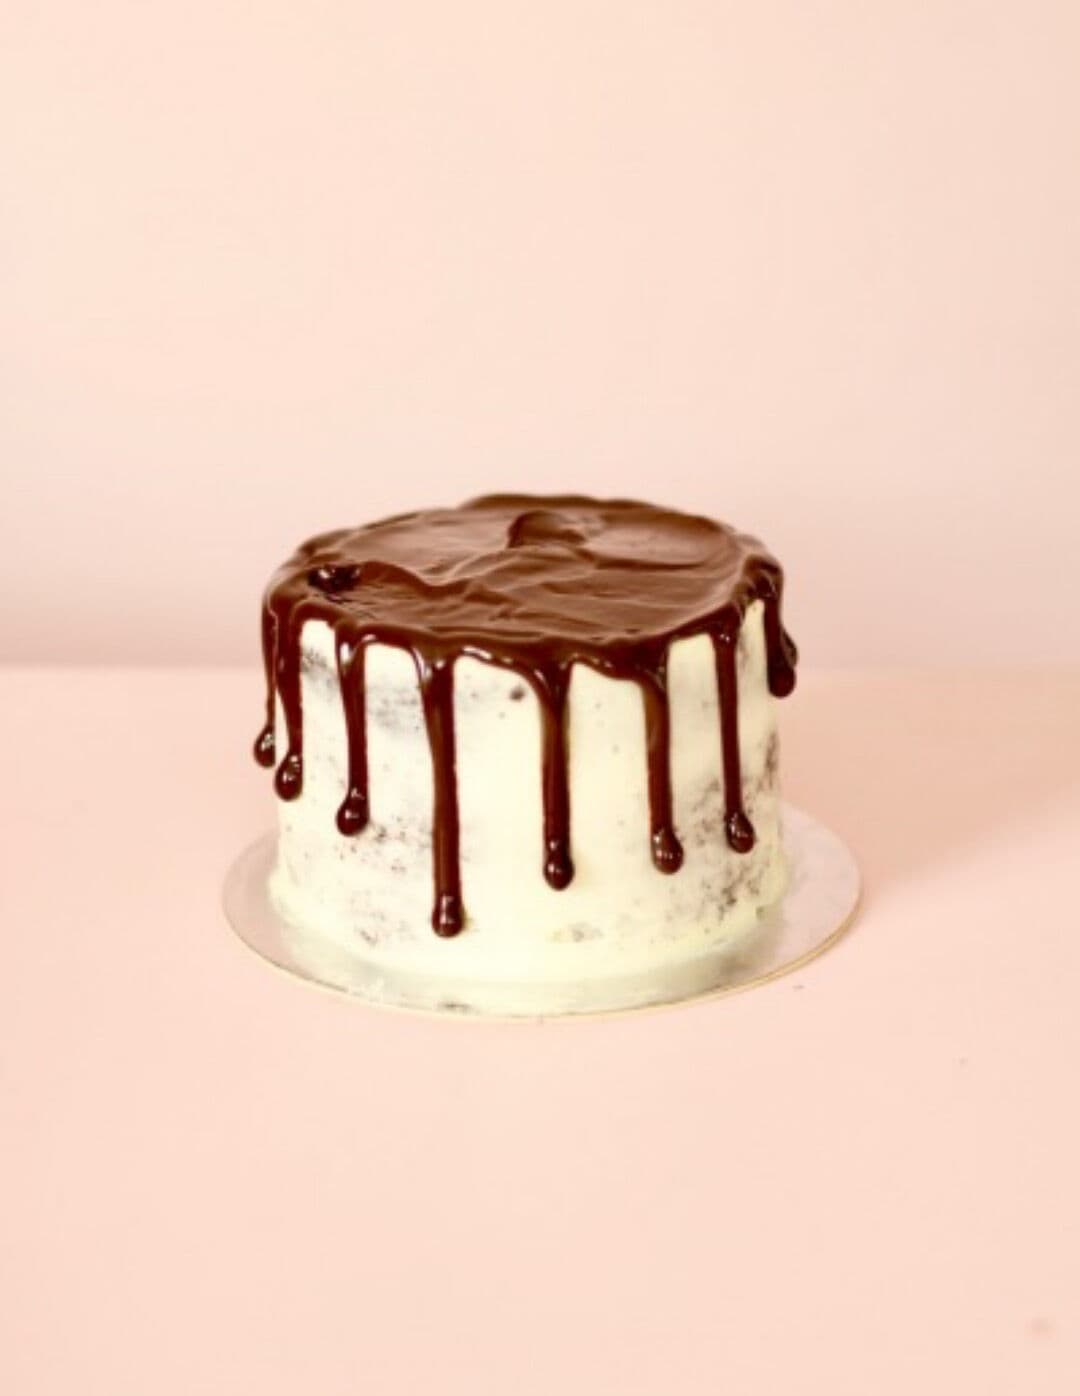
Drizzle techniques
So how does one actually drizzle the chocolate ganache onto a cake?
It’s easy!
There are three ways you can do this (I seem to chop and change depending on how neat I want the drizzles to be) :
1. WITH A SPOON
– Using a spoon give you less control and I personally find it harder. Basically you drip the chocolate down the edge of the cake from the top and go right around the cake. Once you finish, you pour the remaining chocolate into the middle and spread it out with an offset spatula.
2. POURING
– Pouring involves tipping the ganache into the middle of the cake and bringing it to the sides with an offset spatula to gently encourage the chocolate to drizzle down the cake.
3. WITH A BOTTLE/PIPING BAG
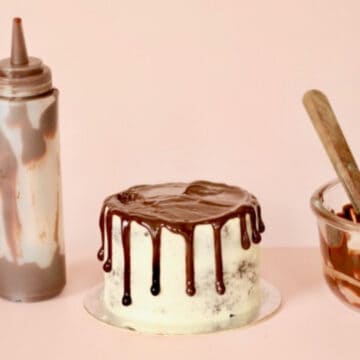
– This is a more controlled way of getting the drizzles to look uniform on the cake. All you need to do is pour the ganache into a bottle with a nozzle at the end (like in the picture above) or into a piping bag and cut the end of the bag to create a small hole. Starting from the top edge of the cake, gently squeeze big or small blobs of chocolate and watch it fall down the sides of the cake. Continue around the whole cake. Then tip the remaining ganache into the middle of the cake and spread it out with an offset spatula.
How to make chocolate ganache
The most important and helpful tip to know is the ratio for chocolate ganache. You can then use this ratio for any quantity needed.
RATIO: 1 part chocolate – one part cream (by weight NOT cups)
For example:
100g 50% cocoa solids chocolate, chopped
100mls cream
There are a few ways to make ganache and all are easy (phew!)
The Three Techniques:
- Microwave:
In a glass bowl, combine chocolate and cream. Microwave on medium to high power for 30 seconds. Remove from microwave and stir. Place back into the microwave for another 30 seconds. Stir and repeat until the chocolate has melted, and a glossy PVA glue-like consistency appears.
The chocolate ganache is ready to use once it is at room temperature. - Double Boiler:
Place a small pot of water on the stove and bring it to a boil. Once boiling, bring to a simmer and place the cream and chocolate in a glass bowl over the pot. Gently stir until completely combined and all the chocolate has melted.
- Heat cream first:
Heat the cream either in a double boiler or microwave for 30 seconds then add (chopped) chocolate. Let it sit and melt before stirring (a few minutes). Once most of the chocolate has melted, stir until all combined and there are no chocolate lumps.
Pro tip
If your chocolate seizes
Chocolate seizes (hardens and turns grainy) if it has been over heated. Be sure to gently and slowly heat the chocolate. If your chocolate has seized, add more chocolate and reheat. This helps to reemulsify the ganache and turn it back to glossy lovely ganache. You may need to add more cream at this stage until you reach a PVA glue-like consistency.
Related


How To Make Chocolate Ganache
Ingredients
- 100mls cream
- 100g chocolate use good quality chocolate (e.g. 50% cocoa solids)
Instructions
- In a glass bowl, combine chocolate and cream. Microwave on medium to high power for 30 seconds. Remove from microwave and stir. Place back into the microwave for another 30 seconds. Stir and repeat until the chocolate has melted, and a glossy PVA glue-like consistency appears.
- The chocolate ganache is ready to use once it is at room temperature (this takes 4-5 minutes)