


Every New Zealander (and non-New Zealander!) needs to have this classic Kiwi cheese straws recipe in their baking repertoire!
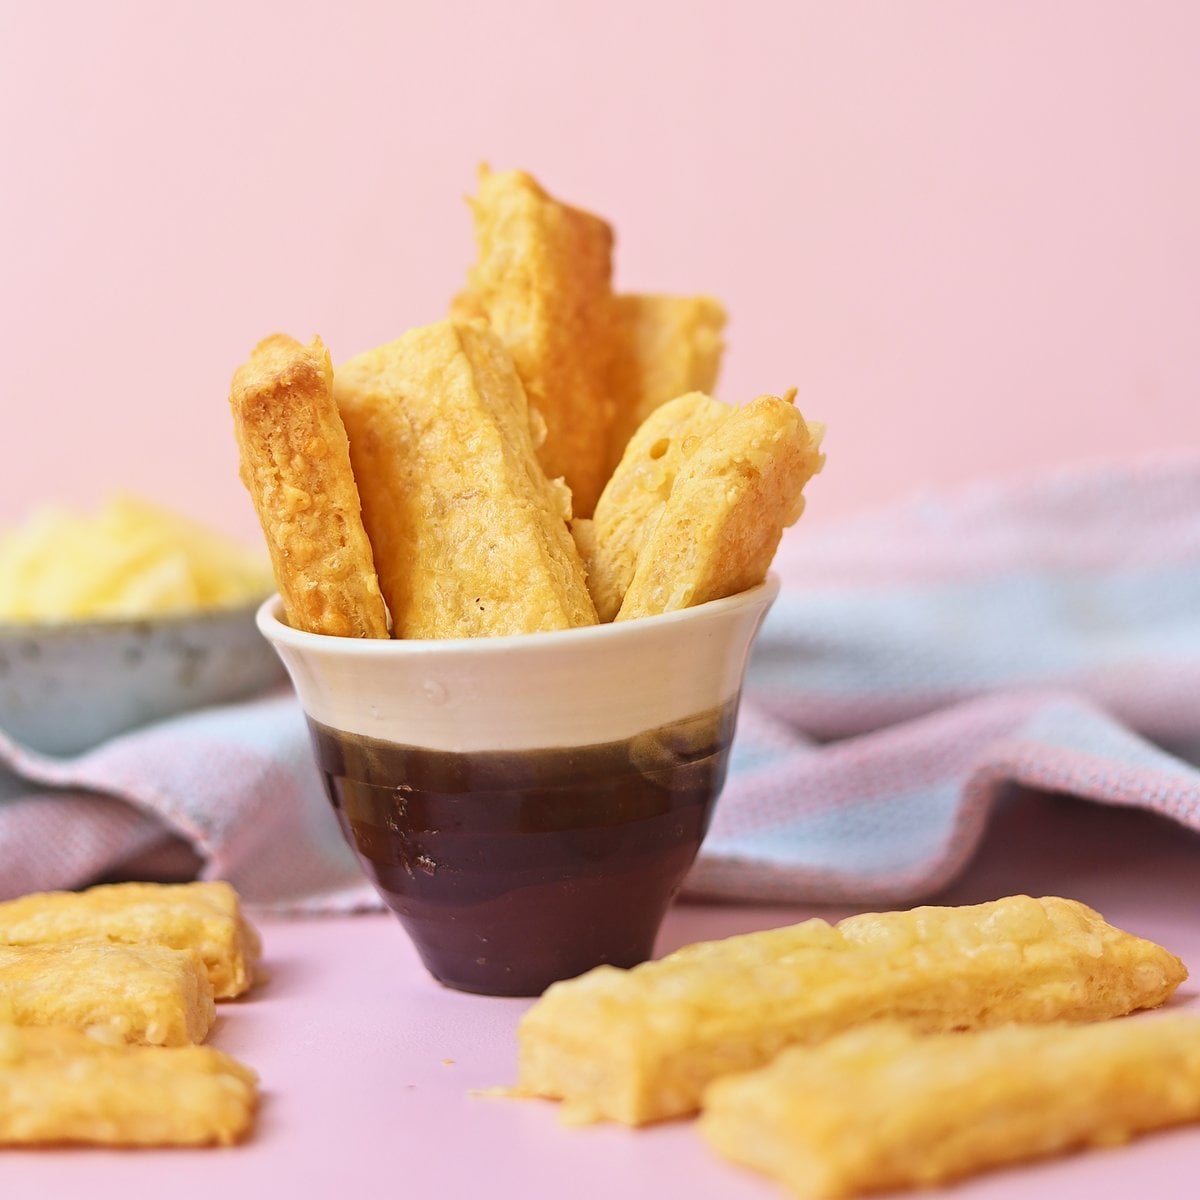
For all you fellow Kiwis out there, I expect you’ve tried classic Kiwi cheese straws before, right? If not, then I’d like to have a word with the baker in your household.😉
For you non-Kiwis out there (in case you’re not familiar with them), cheese straws are flaky, cheesy, mouthwatering bites of short pastry heaven. They are jazzed up with a hint of mustard powder and cayenne pepper for a bit of kick and they’re one of my favourite classic Kiwi snacks.
Cheese straws feature in other countries as well, like the ones in Italy which are called salatini al formaggio and are made with twists of puff pastry, lightly sprinkled with cheese (they’re equally delicious). Classic Kiwi Cheese Straws however are made from a shorter pastry and are somehow more homely. They featured a lot in my childhood and were usually made by my Nana and when she passed away, my sister took over the role and they were always a hit.
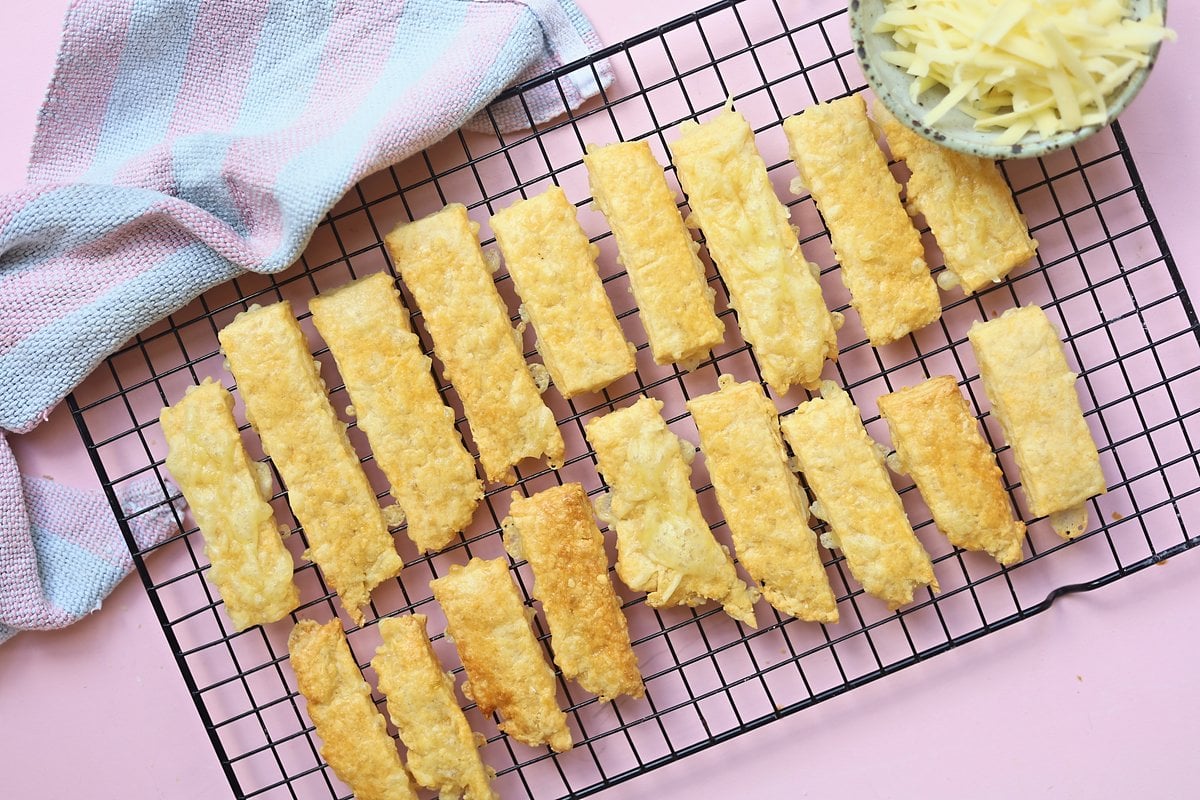
My daughters are absolutely obsessed with these cheese straws and would eat them every day if I would let them (I make sure I omit the chilli!). They're based on the hard-to-beat Edmonds recipe. They make a great snack for afternoon tea. I like to mix up the Edmond's recipe slightly as you'll see below in the "extra add-ins section".
Classic Kiwi Cheese Straws Baking Secrets
There are three baking secrets that come in handy when making classic kiwi cheese straws as tender, flaky and as flavoursome as they can be:
- The rubbing-in method: By rubbing the fat (butter) into the flour, the flour proteins are protected by a layer of fat, preventing too much gluten from forming, resulting in a much lighter dough
- Cold butter: As with most recipes that require the rubbing-in method, cold butter is paramount to producing a flaky, mouthwatering texture. Why? Because cold butter enables flakes of butter to exist throughout the dough. These flakes create layers throughout the dough and the water within them evaporates when baked and enhances lift, creating a light, flaky texture.
- Strong tasting cheese: These classic kiwi cheese straws really do benefit from having a strong tasting cheese in them (I like using Tasty, Vintage or Cheddar). In my opinion, the stronger the better! You could also mix it up and add chopped feta, blue cheese or brie for a slightly different flavour.
Ingredients for Classic Kiwi Cheese Straws
You only need a handful of simple pantry ingredients to make these classic Kiwi cheese straws, and each one has an important job to do. Here's what you'll need and why (you'll find the exact quantities in the recipe card below):
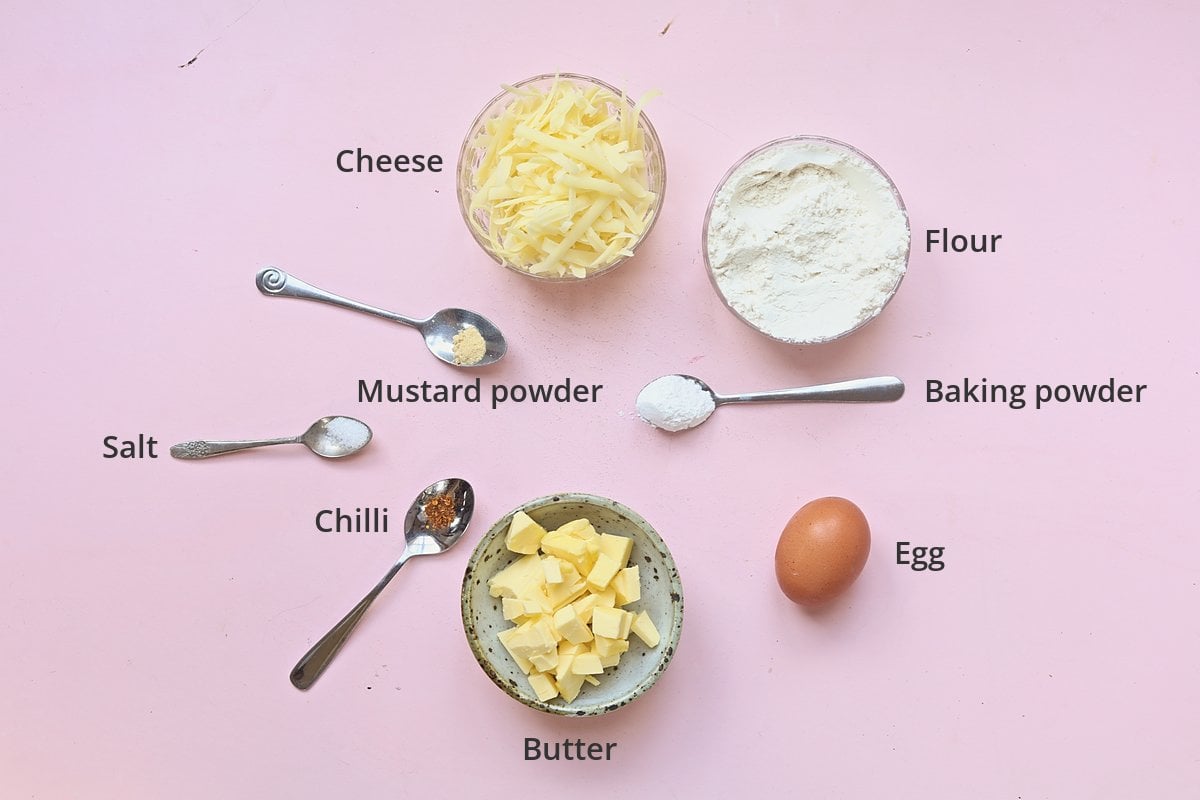
- Plain flour: This is the base of your short pastry and gives the cheese straws their structure. Plain flour is perfect here because it has just enough protein to hold the dough together without making it tough.
- Baking powder: This gives the cheese straws a little lift as they bake, so they're light and tender rather than dense and hard.
- Dry mustard powder (optional): Don't worry, your cheese straws won't taste like mustard! A tiny pinch brings out the flavour of the cheese and makes it taste even cheesier. If you don't have any, you can leave it out.
- Cayenne pepper or chilli (optional): Just a pinch gives a gentle warmth and a bit of kick that balances the richness of the cheese. If you're making these for little ones (they're great in school lunches!), you can leave it out.
- Cold butter: Butter gives the cheese straws their rich flavour and flaky, melt-in-your-mouth texture. Make sure it's cold and cubed. Cold butter leaves little flakes throughout the dough, and when they melt in the oven they create those lovely light, flaky layers.
- Grated cheese: The star of the show! Use a strong-tasting cheese like Tasty, Vintage or Cheddar. The stronger the cheese, the more flavour you'll get. Save a little extra to sprinkle on top before baking for a decadent finish.
- Egg: The egg binds everything into a stiff, pliable dough that's easy to roll out and cut. It also adds richness and helps the cheese straws bake to a lovely pale golden colour.
Optional egg wash: For a golden, glossy finish, whisk 1 egg with a dash of water and brush it over the cheese straws before baking. Sprinkle over some extra grated cheese while you're at it!
How to Make Classic Kiwi Cheese Straws
Cheese straws are so easy to make. You'll have a batch in and out of the oven in about 20 minutes! Here's how to make them, step by step (you'll find the full quantities and method in the recipe card below):
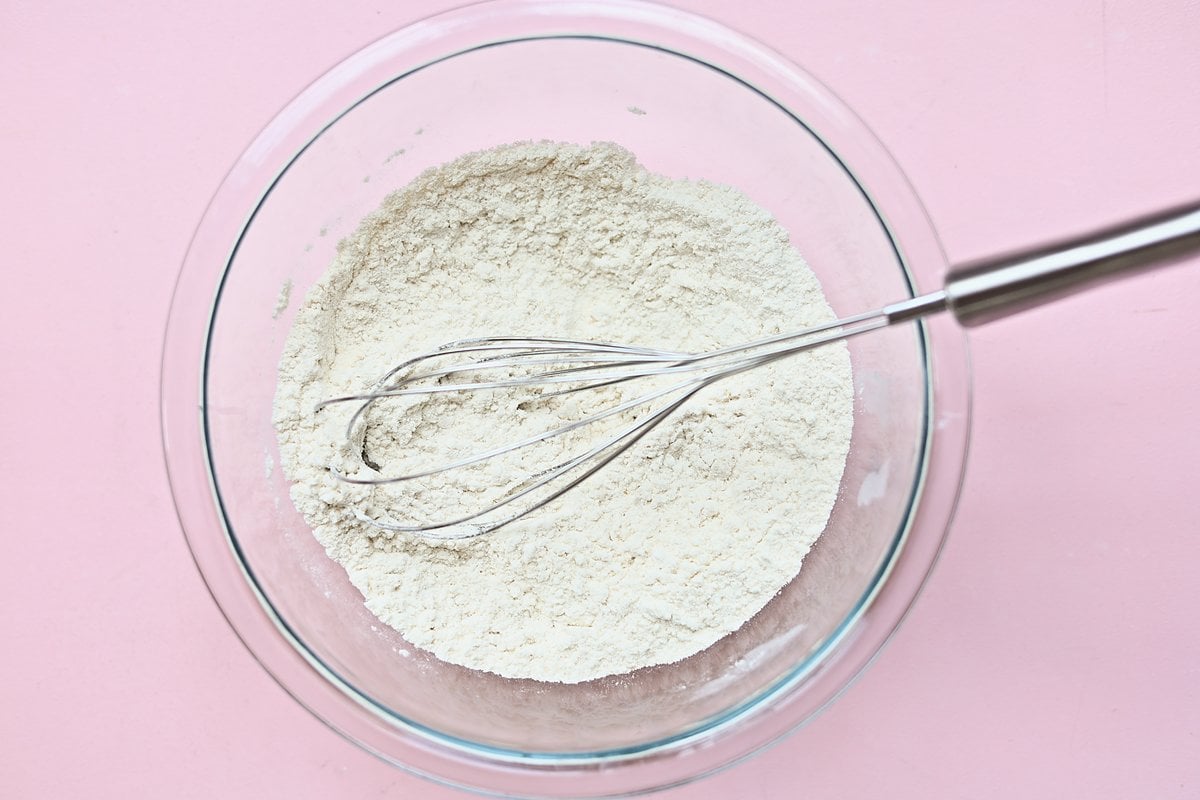
Step 1: Mix the dry ingredients
Preheat your oven to 190°C (375°F). In a medium bowl, sift (or whisk) together the flour, salt, baking powder, mustard powder and cayenne pepper or chilli, (if using) so the spices are evenly spread through the flour.
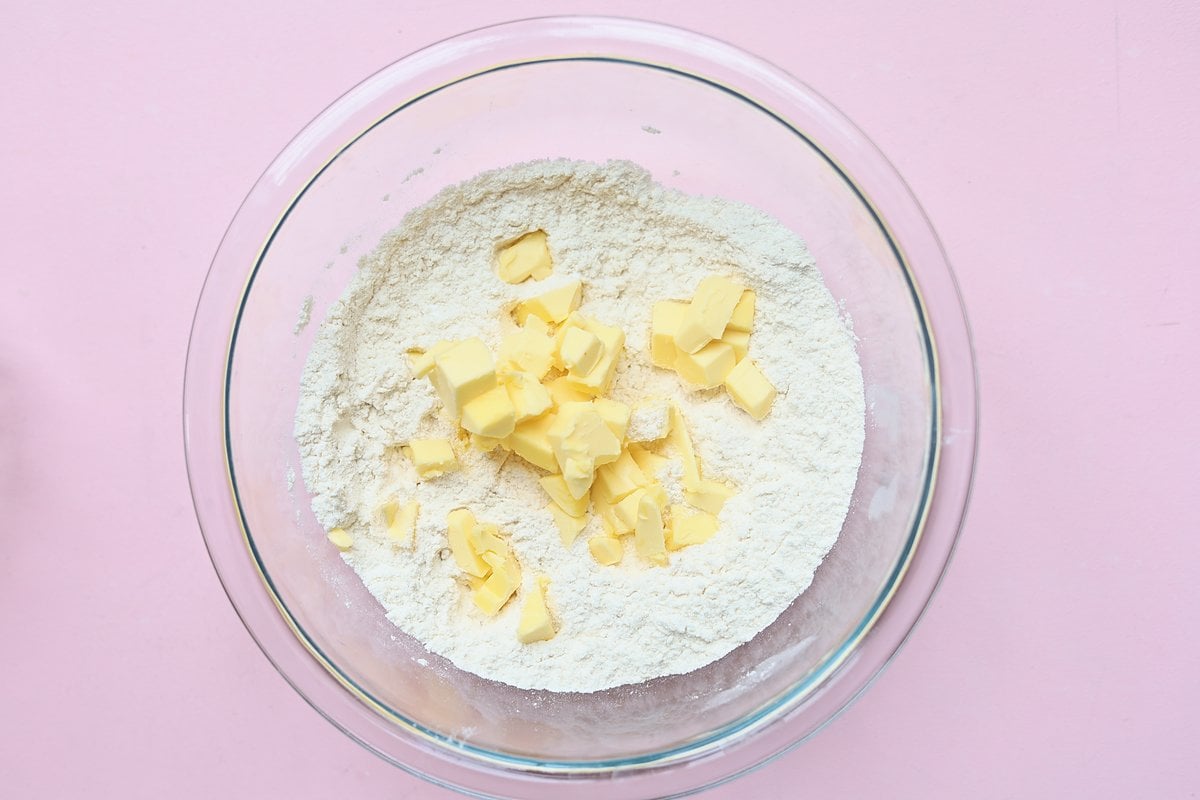
Step 2: Add the cold butter
Add the cold, cubed butter to the flour mixture.
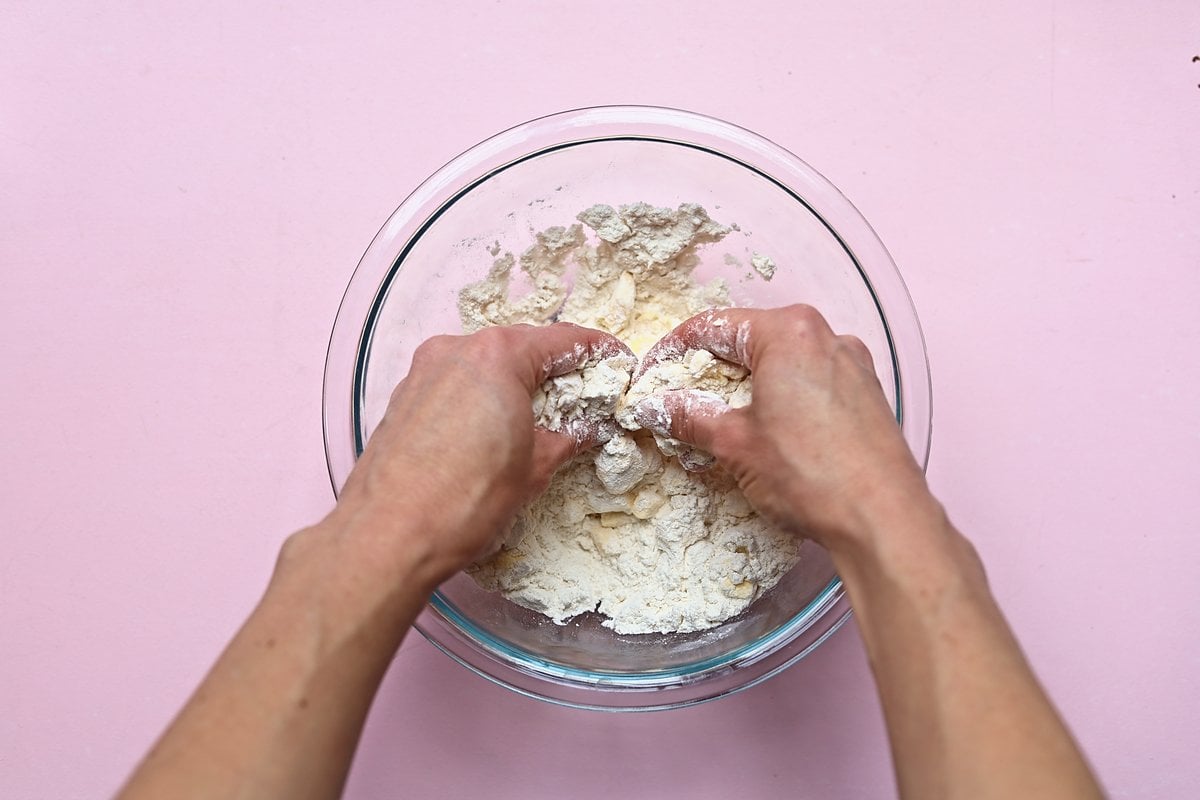
Step 3: Rub in the butter
Cut the butter into the flour with two knives or a pastry cutter. Then use your fingertips to rub it in until the mixture looks like fine breadcrumbs. Work quickly so the butter stays cold, because those little flakes of butter are what make your cheese straws flaky!
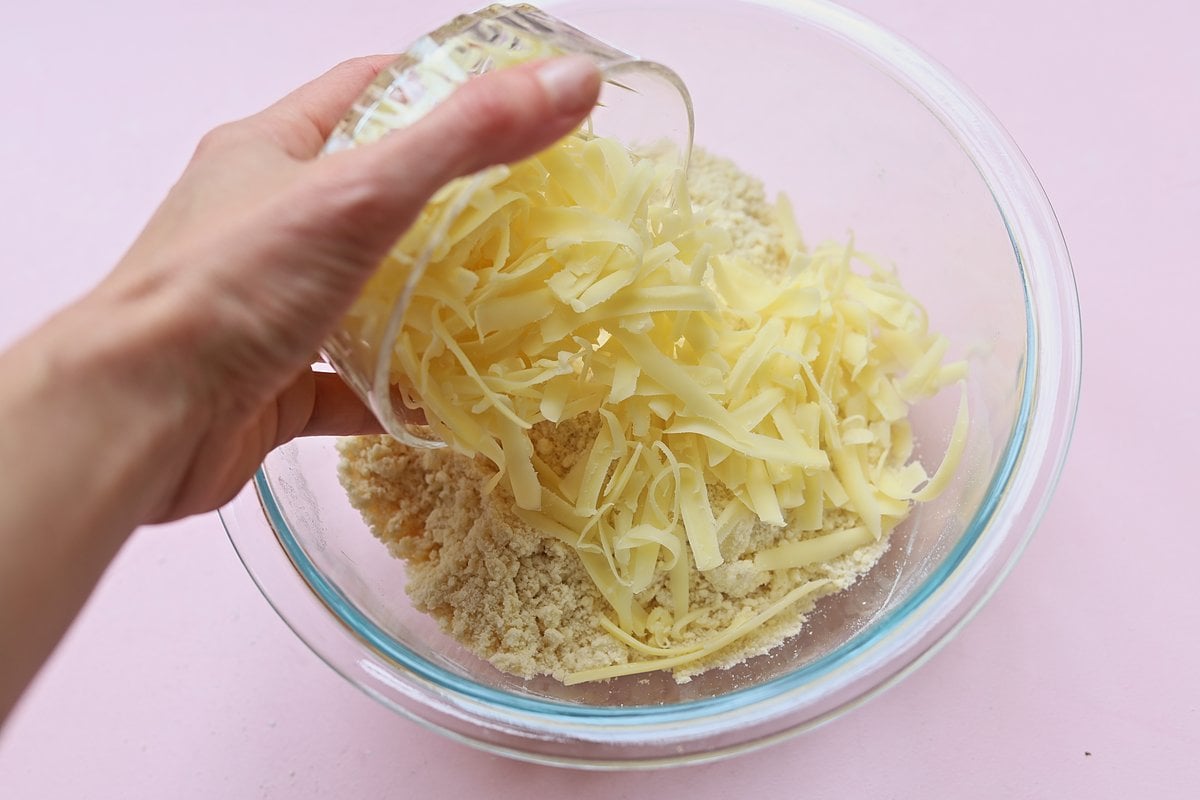
Step 4: Add the Cheese!
Add the grated cheese and stir it through the mixture with a fork.
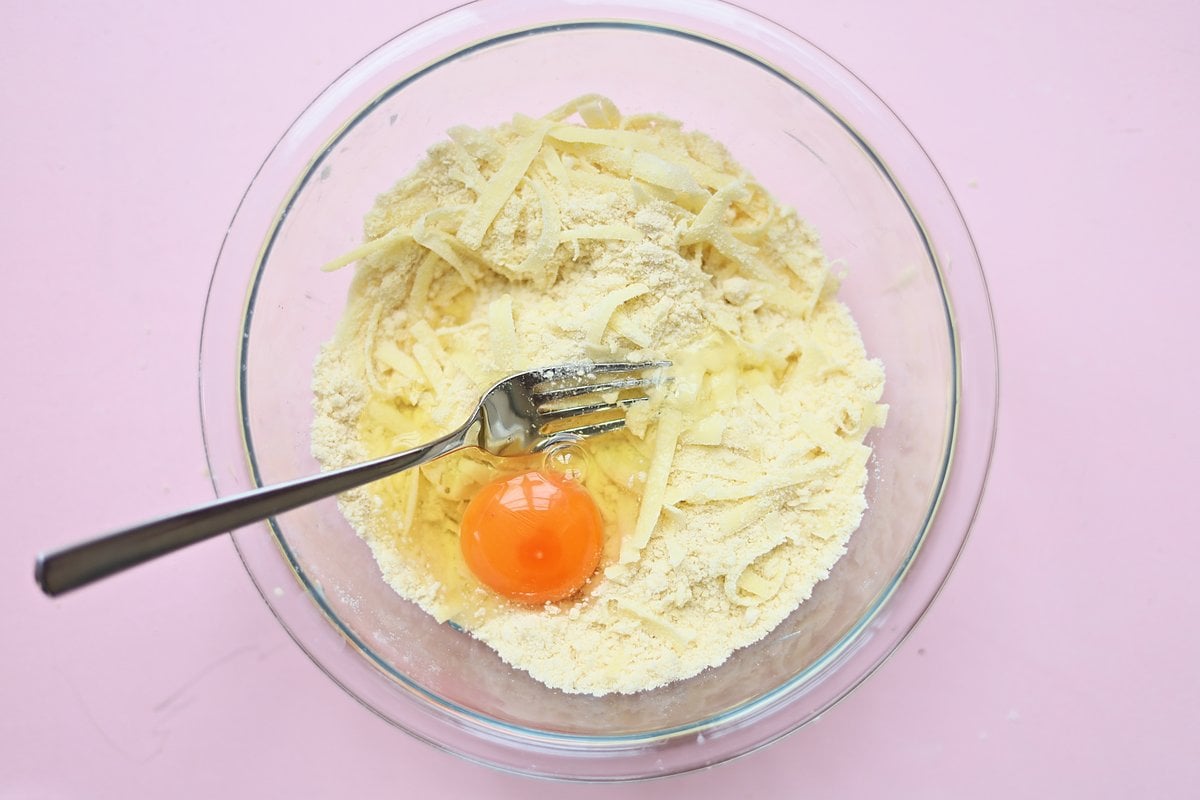
Step 5: Add the egg and bring the dough together
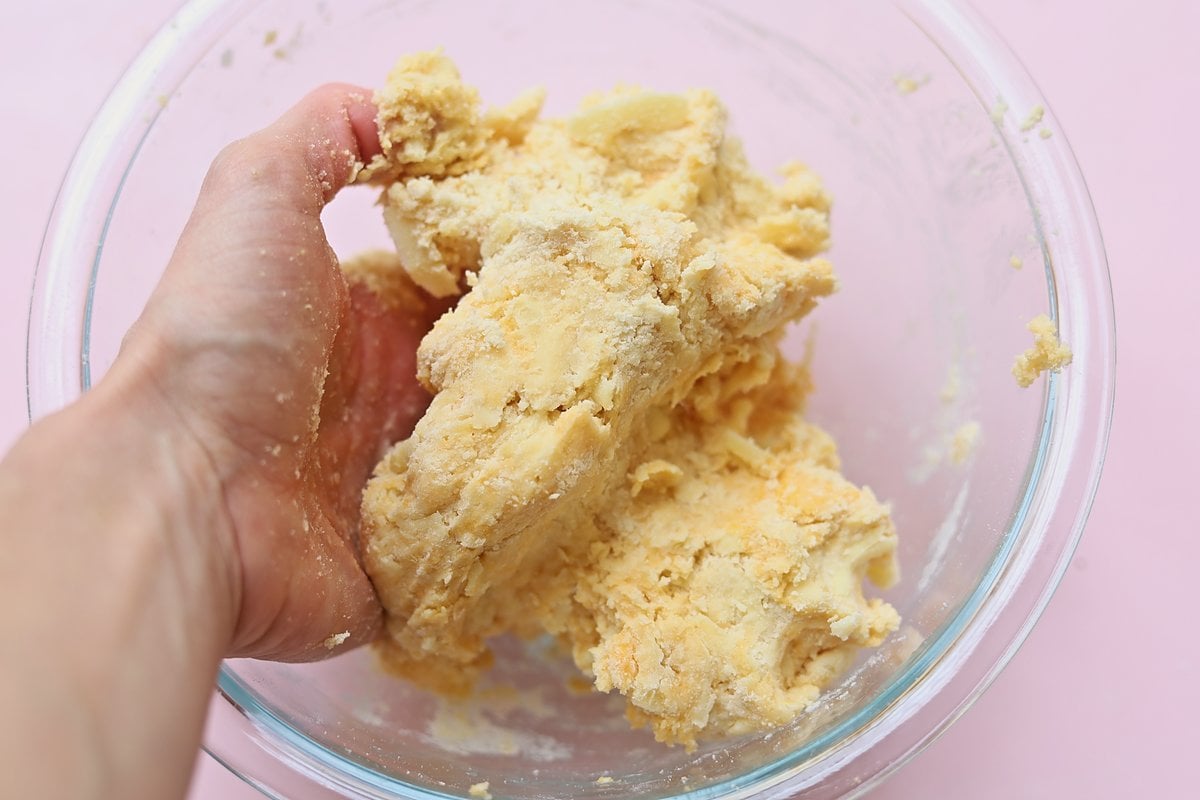
Lightly beat the egg, add it to the bowl and stir with a fork until it forms a stiff, pliable dough. You may need to get your hands in to help bring it together.
Step 6: Roll out the dough
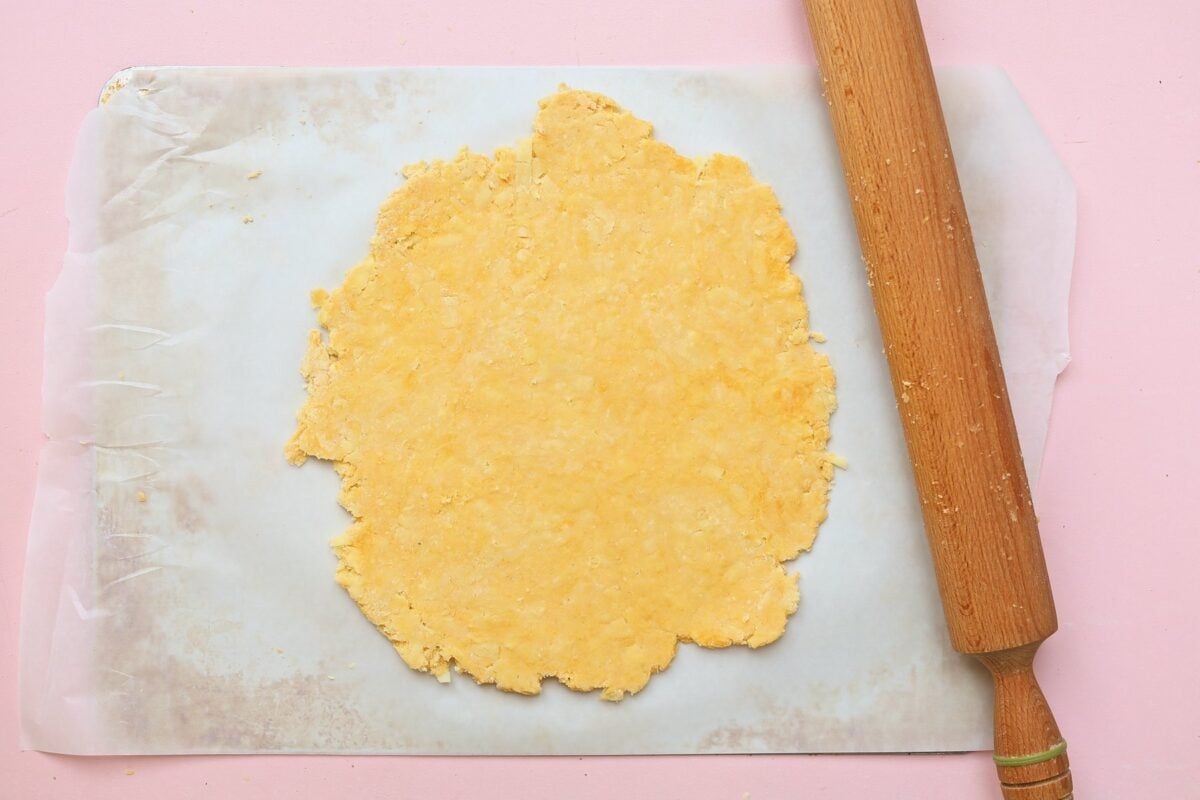
Turn the dough out onto a large piece of baking paper and roll it out to about 5 mm thick.
Step 7: Cut into straws
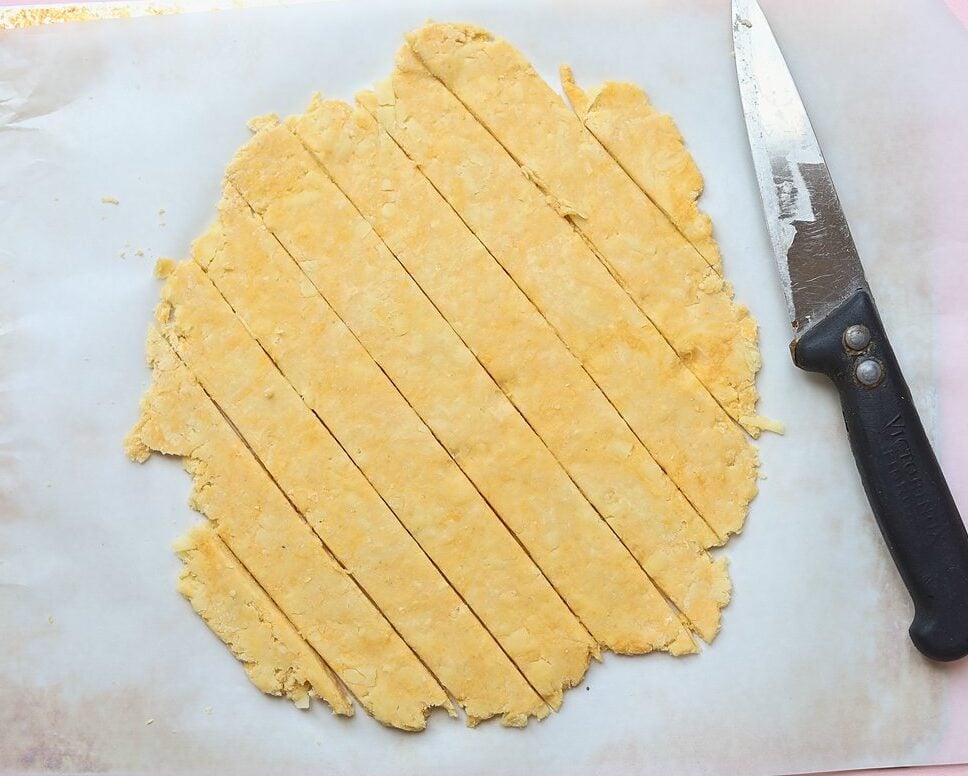
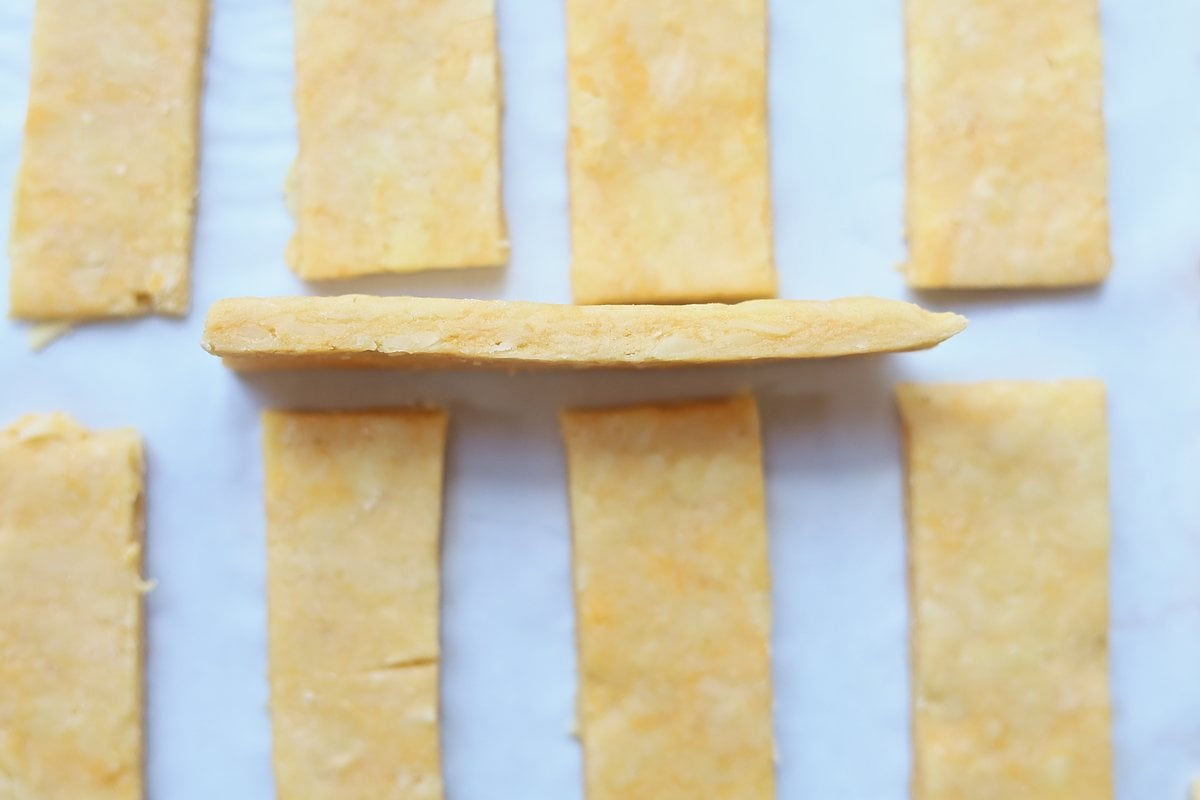
Use a knife to cut the dough into straws about 1 x 5 cm. Here's how thick your unbaked cheese straws should be:
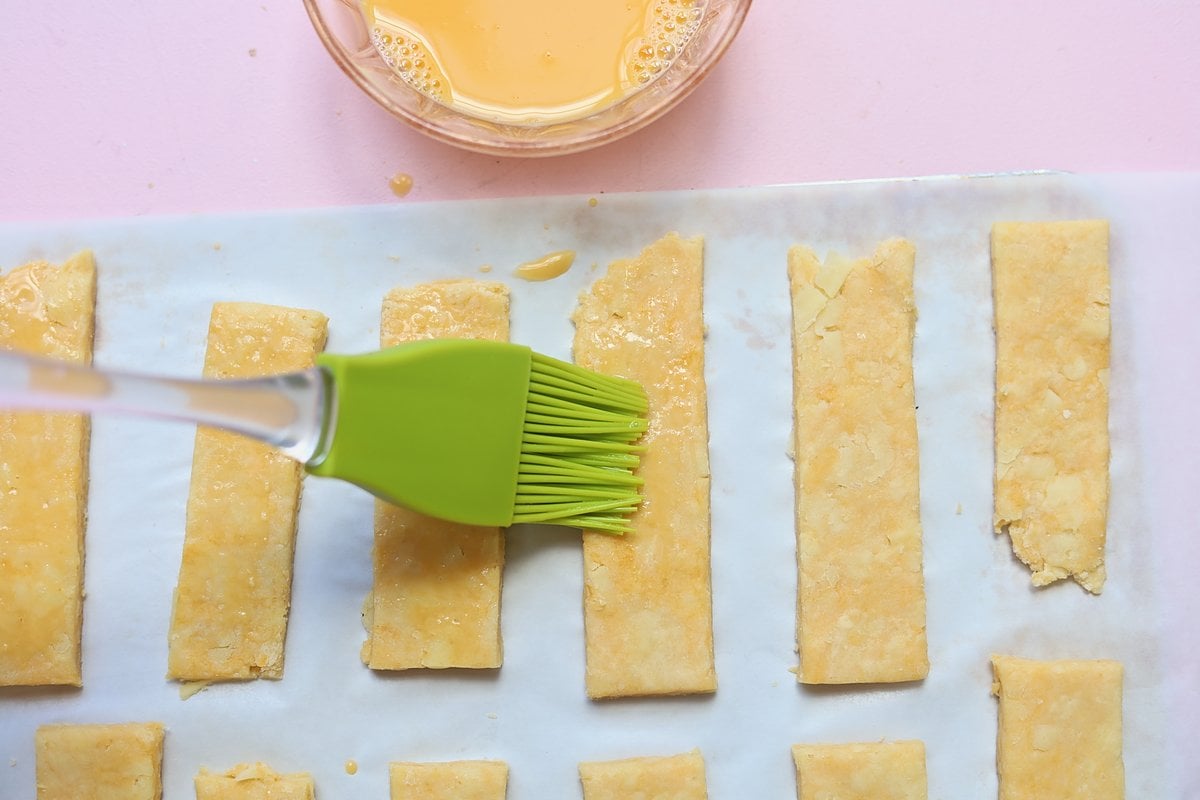
Step 8: Egg wash and extra cheese (optional)
For a golden, glossy finish, whisk 1 egg with a dash of water and brush it over the cheese straws. Then sprinkle over some extra grated cheese. This step is optional, but highly recommended!
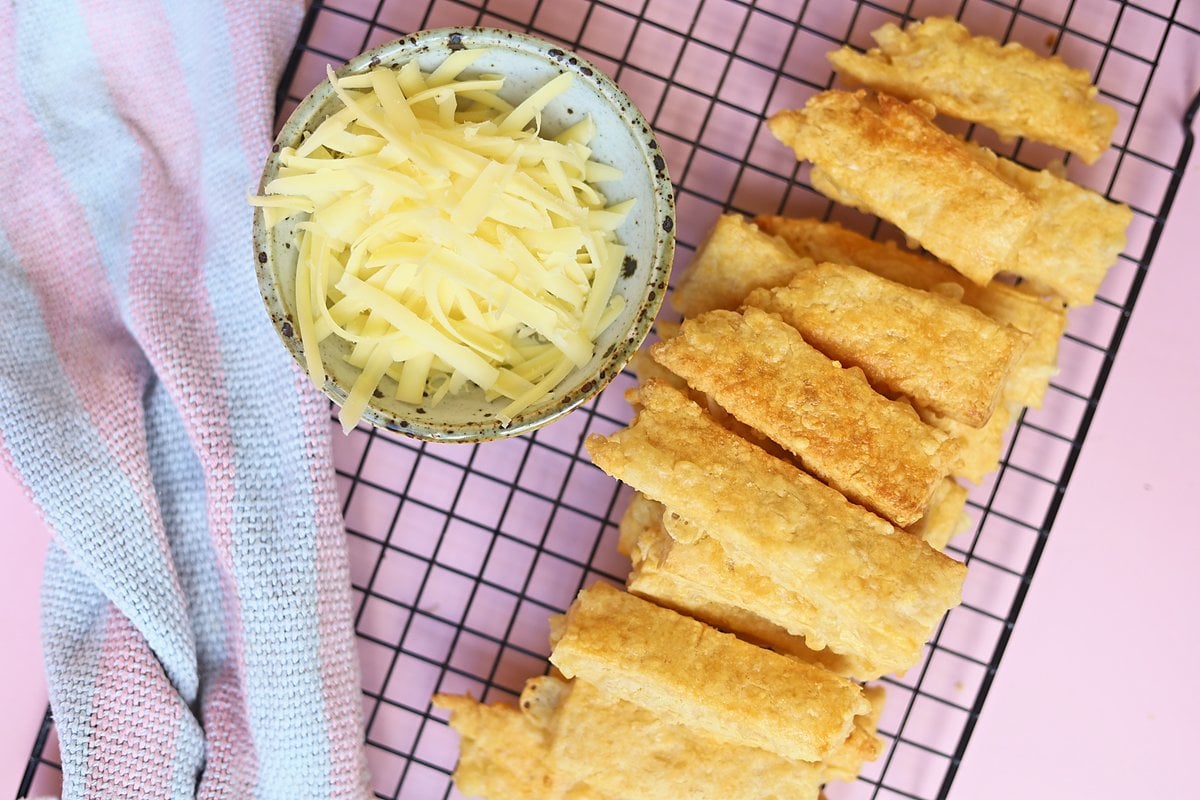
Step 9: Bake
Bake for 10 minutes, or until pale golden.
Cool and enjoy! Transfer the cheese straws to a cooling rack. They're delicious eaten plain straight from the oven, or served with dips. Break one open and you'll see all those lovely flaky layers!
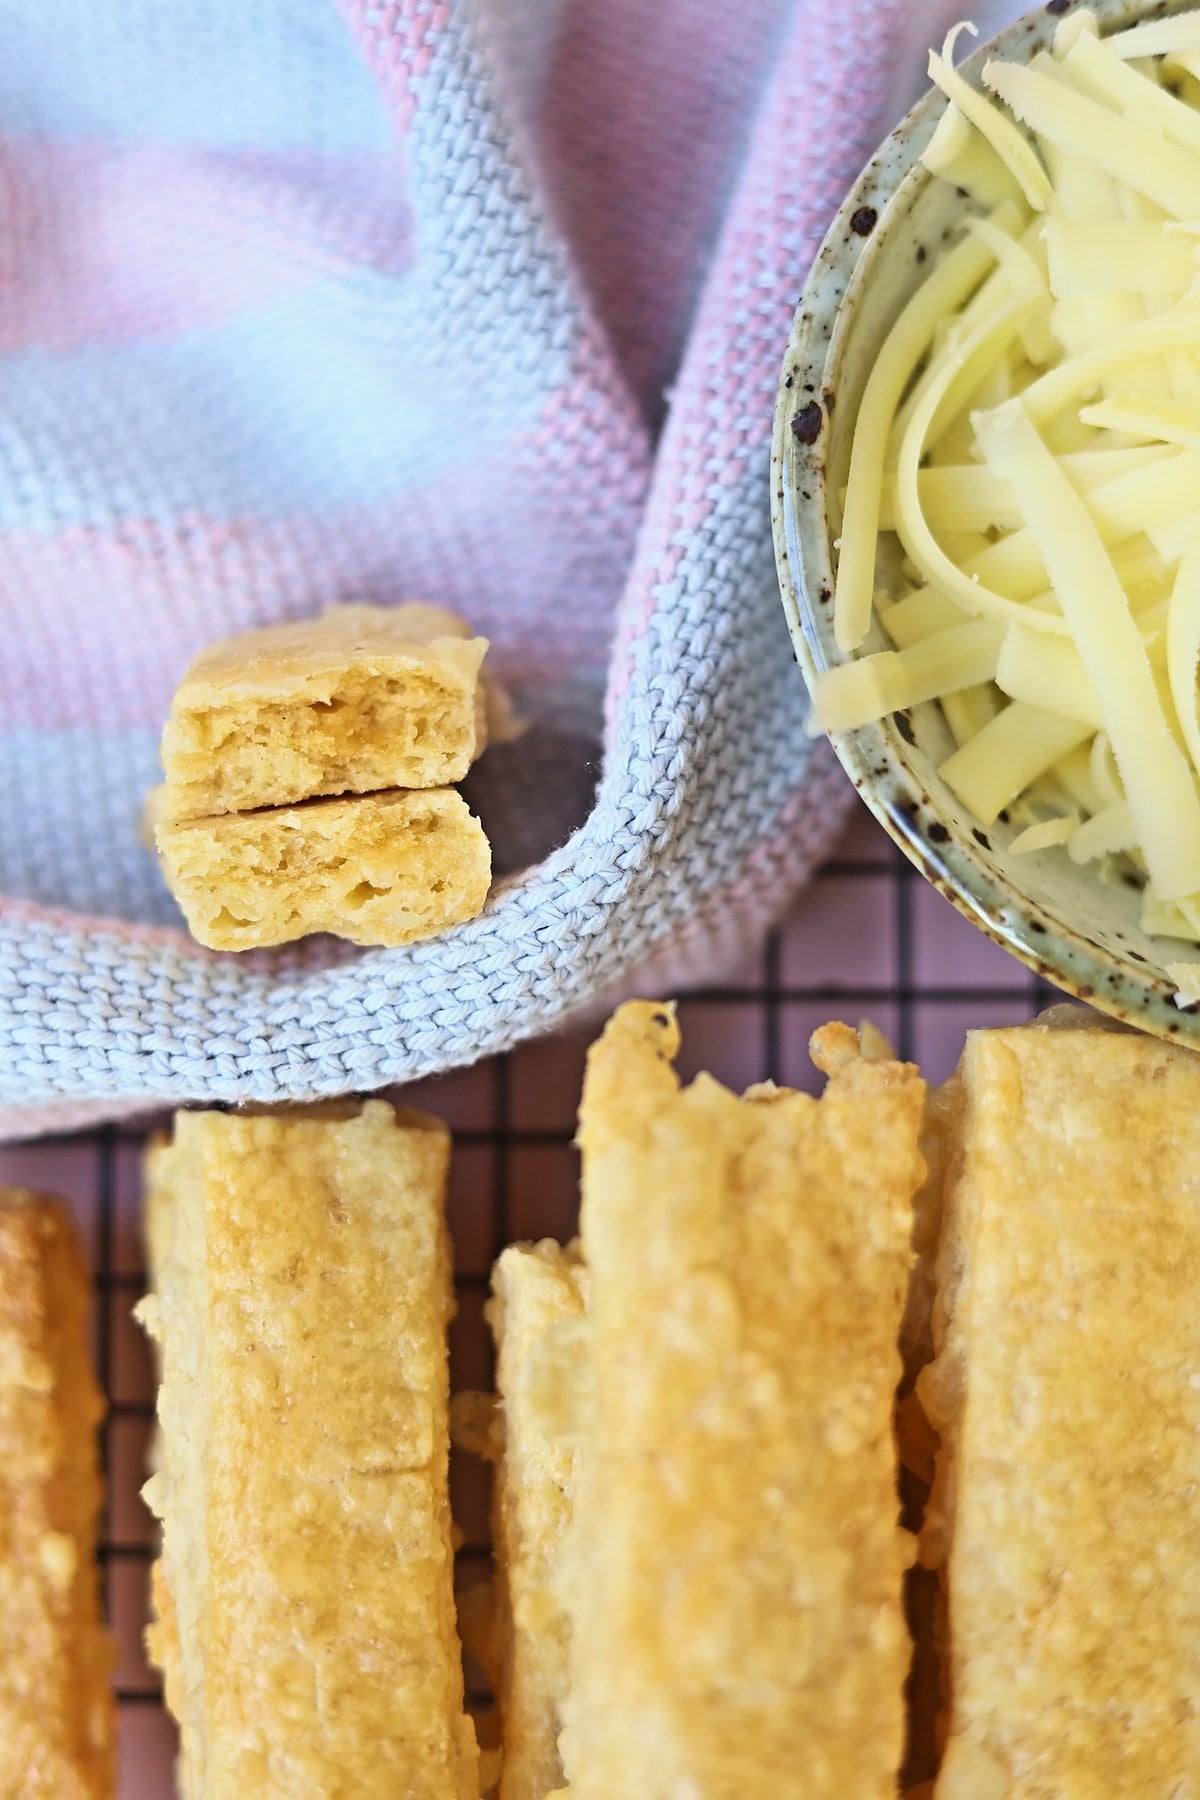
How do I cut Cheese Straws?
However you like! You could use a cookie cutter to make perfect shapes or a knife to cut into strips like I've done. My kids like them cut thin with extra cheese on top! I love the rustic look so I don't worry about cutting the rugged edges.
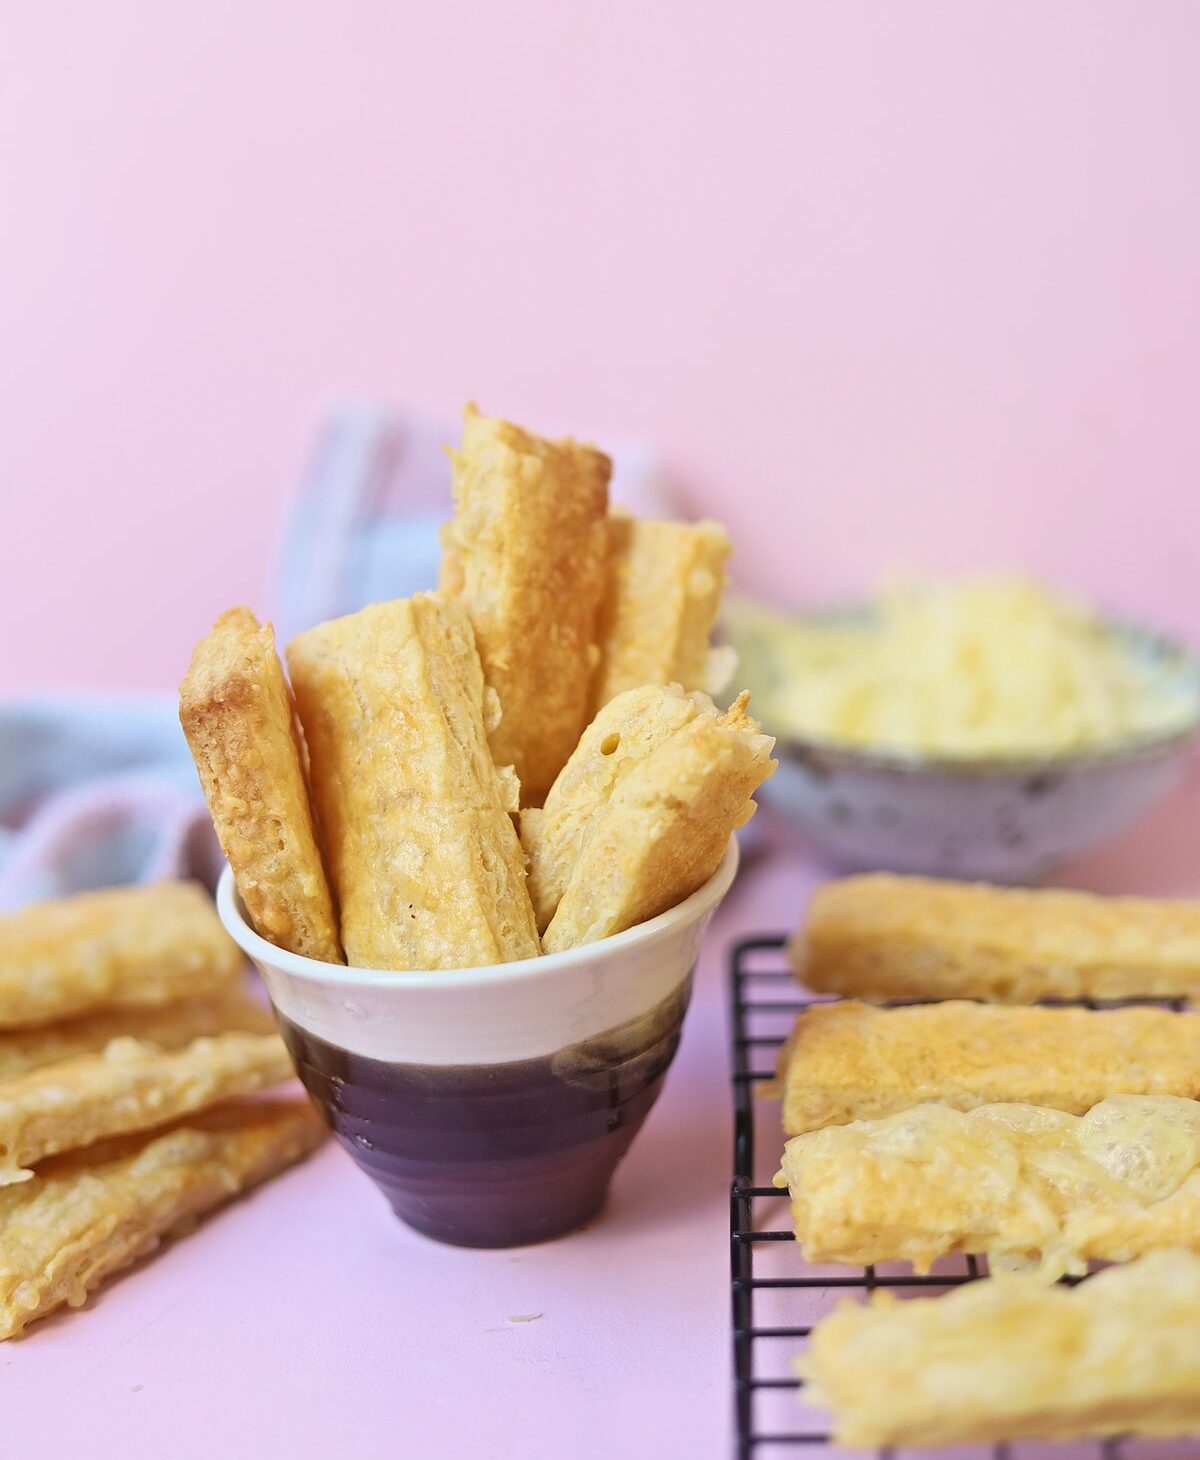
These cheese straws are a moreish snack, so watch out – you may be making a second batch sooner than you expect.
Optional add-ins
These classic Kiwi cheese straws are delicious just as they are, but they're also really easy to change up. Here are some of my favourite add-ins:
Brewer's yeast: I often add 2 tablespoons of brewer's yeast to the dry ingredients. It gives the cheese straws a nutritional boost and an extra cheesy, savoury flavour. Win-win!
Garlic powder: ½–1 teaspoon is all you need to make the flavour really pop. Sift it in with the flour and spices.
Parmesan cheese: My kids love it when I sprinkle Parmesan on top before baking. For extra decadence, you could even swap all the cheese in the dough for Parmesan!
Smoked paprika: Swap the cayenne pepper for ½ teaspoon of smoked paprika for a gentle, smoky flavour without the heat. Great if your little ones don't like spice.
Herbs: Add 1 teaspoon of dried herbs (thyme, oregano or rosemary all work well) or 1 tablespoon of finely chopped fresh chives to the dry ingredients.
Seeds: After brushing on the egg wash, sprinkle the cheese straws with sesame seeds, poppy seeds or everything bagel seasoning for extra crunch.
Bacon: Stir 2 rashers of cooked, finely chopped crispy bacon through the dough with the cheese. Perfect for a party platter!
Classic Kiwi Cheese Straws FAQs
Cheese straws are best eaten on the day they're made, but they'll keep in an airtight container for 1–2 days. If they've softened, pop them back in a 180°C (350°F) oven for a few minutes to crisp up again.
Yes! Freeze the cut, unbaked cheese straws on a tray until firm, then transfer them to an airtight container or freezer bag for up to 3 months. Bake them straight from frozen, adding a couple of extra minutes to the baking time.
Yes, but you'll get a different result. Puff pastry cheese straws (like Italian salatini al formaggio) are light and crispy, while this classic Kiwi version uses a homemade short pastry that's more tender and homely. For a quick puff pastry version, brush a sheet with egg wash, sprinkle with cheese, cut into strips, twist and bake until golden.
Yes. Replace the egg with 2–3 tablespoons of cold milk or water, adding just enough to bring the dough together. Skip the egg wash, or brush the straws with a little milk instead.
Yes. Swap the plain flour for a gluten-free plain flour blend, and check your baking powder and mustard powder are gluten-free too. The dough may be a little more crumbly, so press it together gently with your hands before rolling.
This recipe makes about 14 -16 cheese straws, depending on how thick and long you cut them. It's easy to double for a party platter!
Related
Looking for other recipes like this? Try these:

Classic Kiwi Cheese Straws
Ingredients
- 125 g (1 cup) plain flour
- ½ teaspoon salt
- 2 teaspoons baking powder
- ⅛ teaspoon dry mustard powder Optional
- A pinch of cayenne pepper or chilli (optional)
- 75 g (⅓ cup) butter, cubed and cold
- 65 g (¾ cup) grated cheese (preferably a strong cheese like Tasty, Cheddar or Vintage)
- 1 egg + 1 extra egg for egg wash (optional)
Instructions
- Preheat oven to 190℃ (375℉) fan bake. In a medium sized bowl sift flour, salt, baking powder, dry mustard powder, cayenne pepper/chilli (if using).
- Using your fingertips or a pastry cutter, rub in butter until mixture resembles fine breadcrumbs. Stir in cheese then lightly beat egg and add to mixture also. Using a fork, stir the mixture until it forms a stiff, pliable dough (you may need to get your hands in the mixture to help bring it together).
- Transfer the dough onto a large piece of baking paper and roll dough to 5mm thickness. From here you can either use a knife to cut ‘straws’ (about 1 x 5 cm) or cut shapes using cookie cutters to make biscuits. Spread the straws/biscuits a few cm apart from each other and slide the baking paper onto a baking tray.
- Bake for 10 minutes or until pale golden. Transfer to a cooling rack.
- These are delicious eaten plain, straight from the oven or even served with dips.
Notes
These cheese straws are best eaten on the day they're made, but they'll keep for 1–2 days in an airtight container. Pop them in a 180°C (350°F) oven for a few minutes to crisp them up again.
Optional egg wash: whisk 1 egg with a dash of water and brush it over the cheese straws before baking. Sprinkle over extra grated cheese!
Optional add-in: I often add 2 tablespoons of brewer's yeast to the dry ingredients for a nutritional boost and an extra cheesy flavour.
See the post above for more add-in ideas.
The chilli really makes these pop 🙂 I make these for my kids' school lunches (without the chilli).
Thanks for this great recipe Sarah
My husband also likes these with the chilli! Good shout leaving it out for the kids though. 😛 Happy baking!